
Write a 200 to 500 word Summary for this article in a professional tone:
Image alt text is important for accessibility and beneficial for SEO. But if you have lots of images on your website, manually writing alt text for all of them will be time-consuming. This article is a step-by-step guide for using AI to generate alt text automatically at scale.
- We will use Screaming Frog to identify images with missing alt text across a website.
- Then, we’ll leverage an image captioning AI called BLIP to create text descriptions of images automatically.
- To refine the AI-generated captions, we’ll use ChatGPT.
- Finally, we’ll hand off the alt text to a developer to link the alt text with the appropriate images.
Generating image alt text matters for accessibility and SEO
Alt text is the text that loads when an image fails to load. Alt text also is what screen readers use to produce audio descriptions of images for visually impaired users.
You might be asking, “Alt text for SEO has minimal impact, so why bother?” Minimal impact is better than none. And using AI makes the task efficient and cost-effective. The initial setup may take some time, but the ongoing effort is minimized.
Here are the seven steps for using AI to generate image alt text at scale:
Step 1: Find images with blank alt text to optimize
This step is fairly simple. We will crawl a site and extract all the image embeds that do not have alt text. In this case, we’re going to look at the Classic British Hotels website.
This site was chosen for the demo because it’s not too large and is based on WordPress, a platform familiar to most SEOs. Additionally, this site displays images well, even with JavaScript disabled, enhancing accessibility for our purposes.
Some images lack alt text, but they seem straightforward to describe in context, which is important when working with AI that may not recognize specific niche products.
Crawl the site with Screaming Frog to isolate images with missing alt text. Screaming Frog has an official guide on isolating missing alt text, which we’ll follow for the most part.
Let’s launch the crawler:
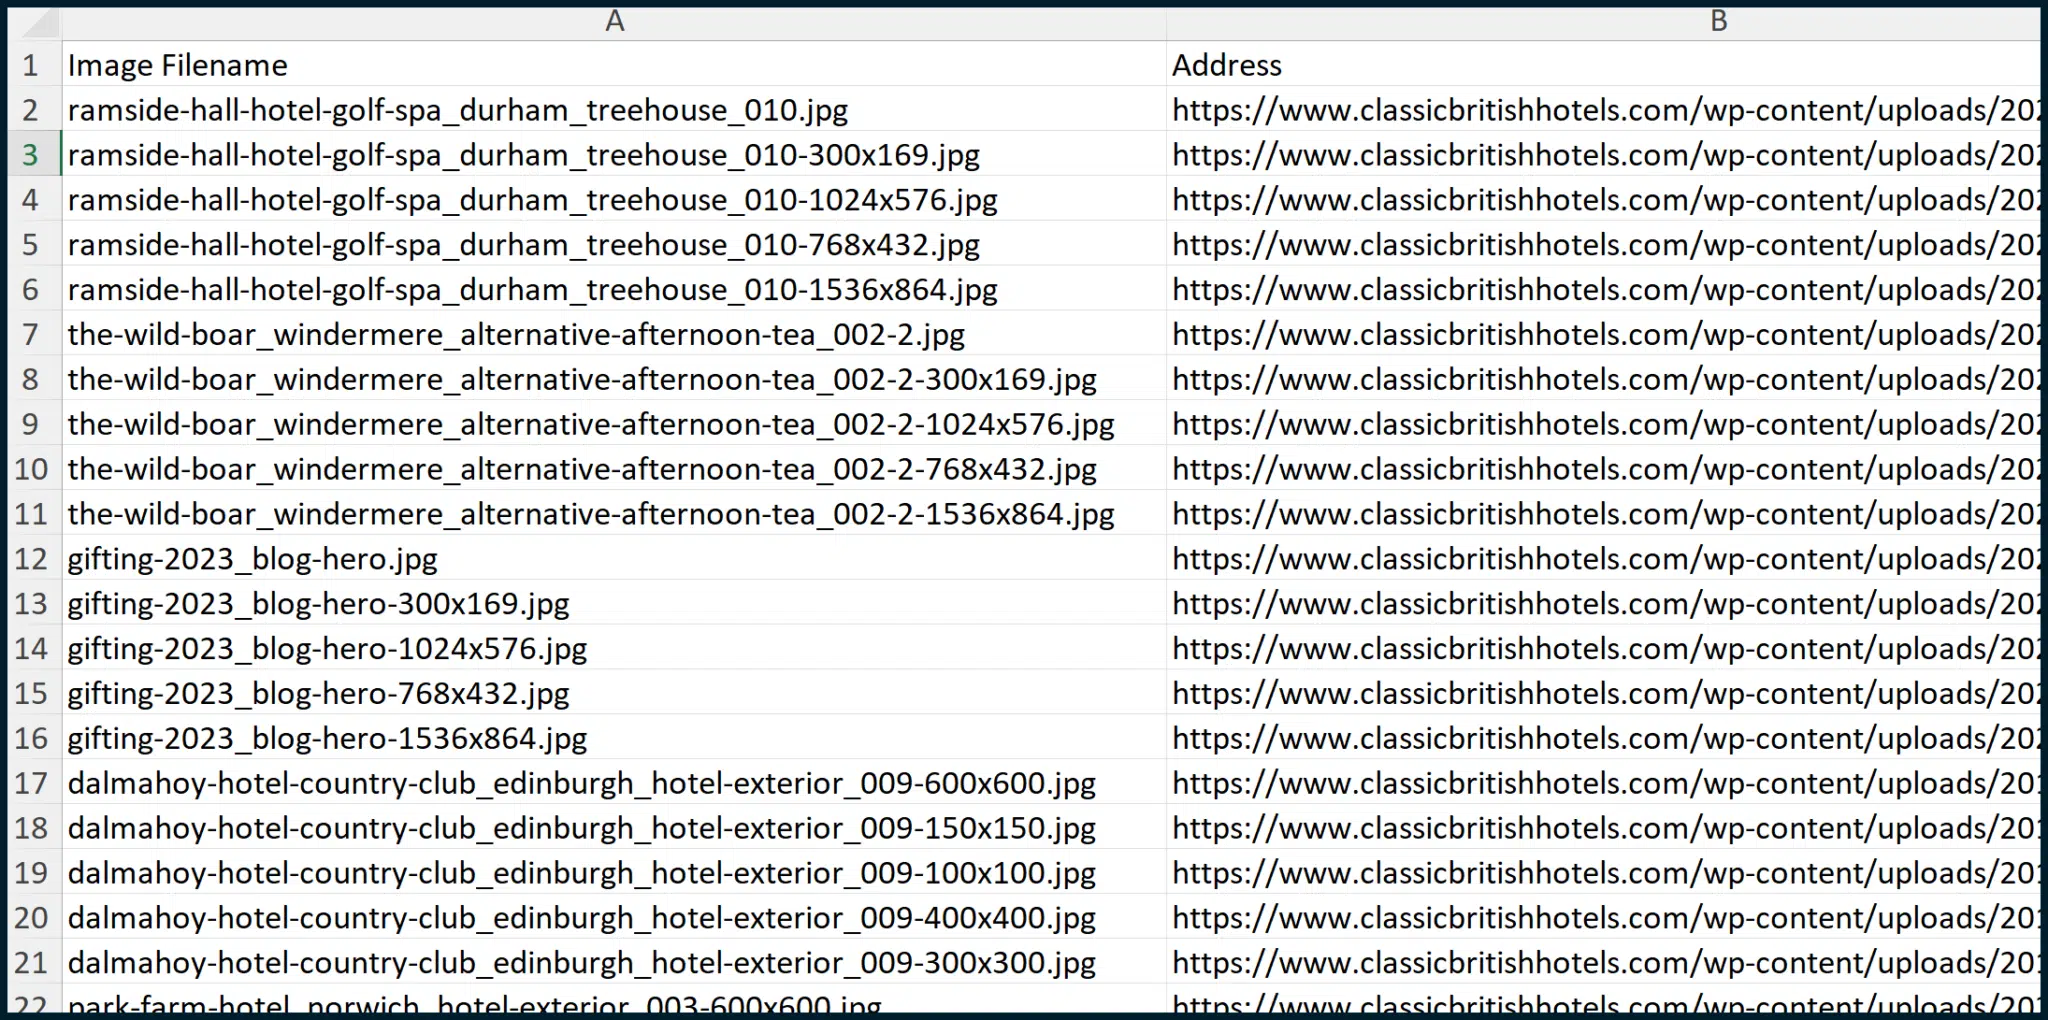
Once the crawl is complete, export the addresses of images that are missing alt text:
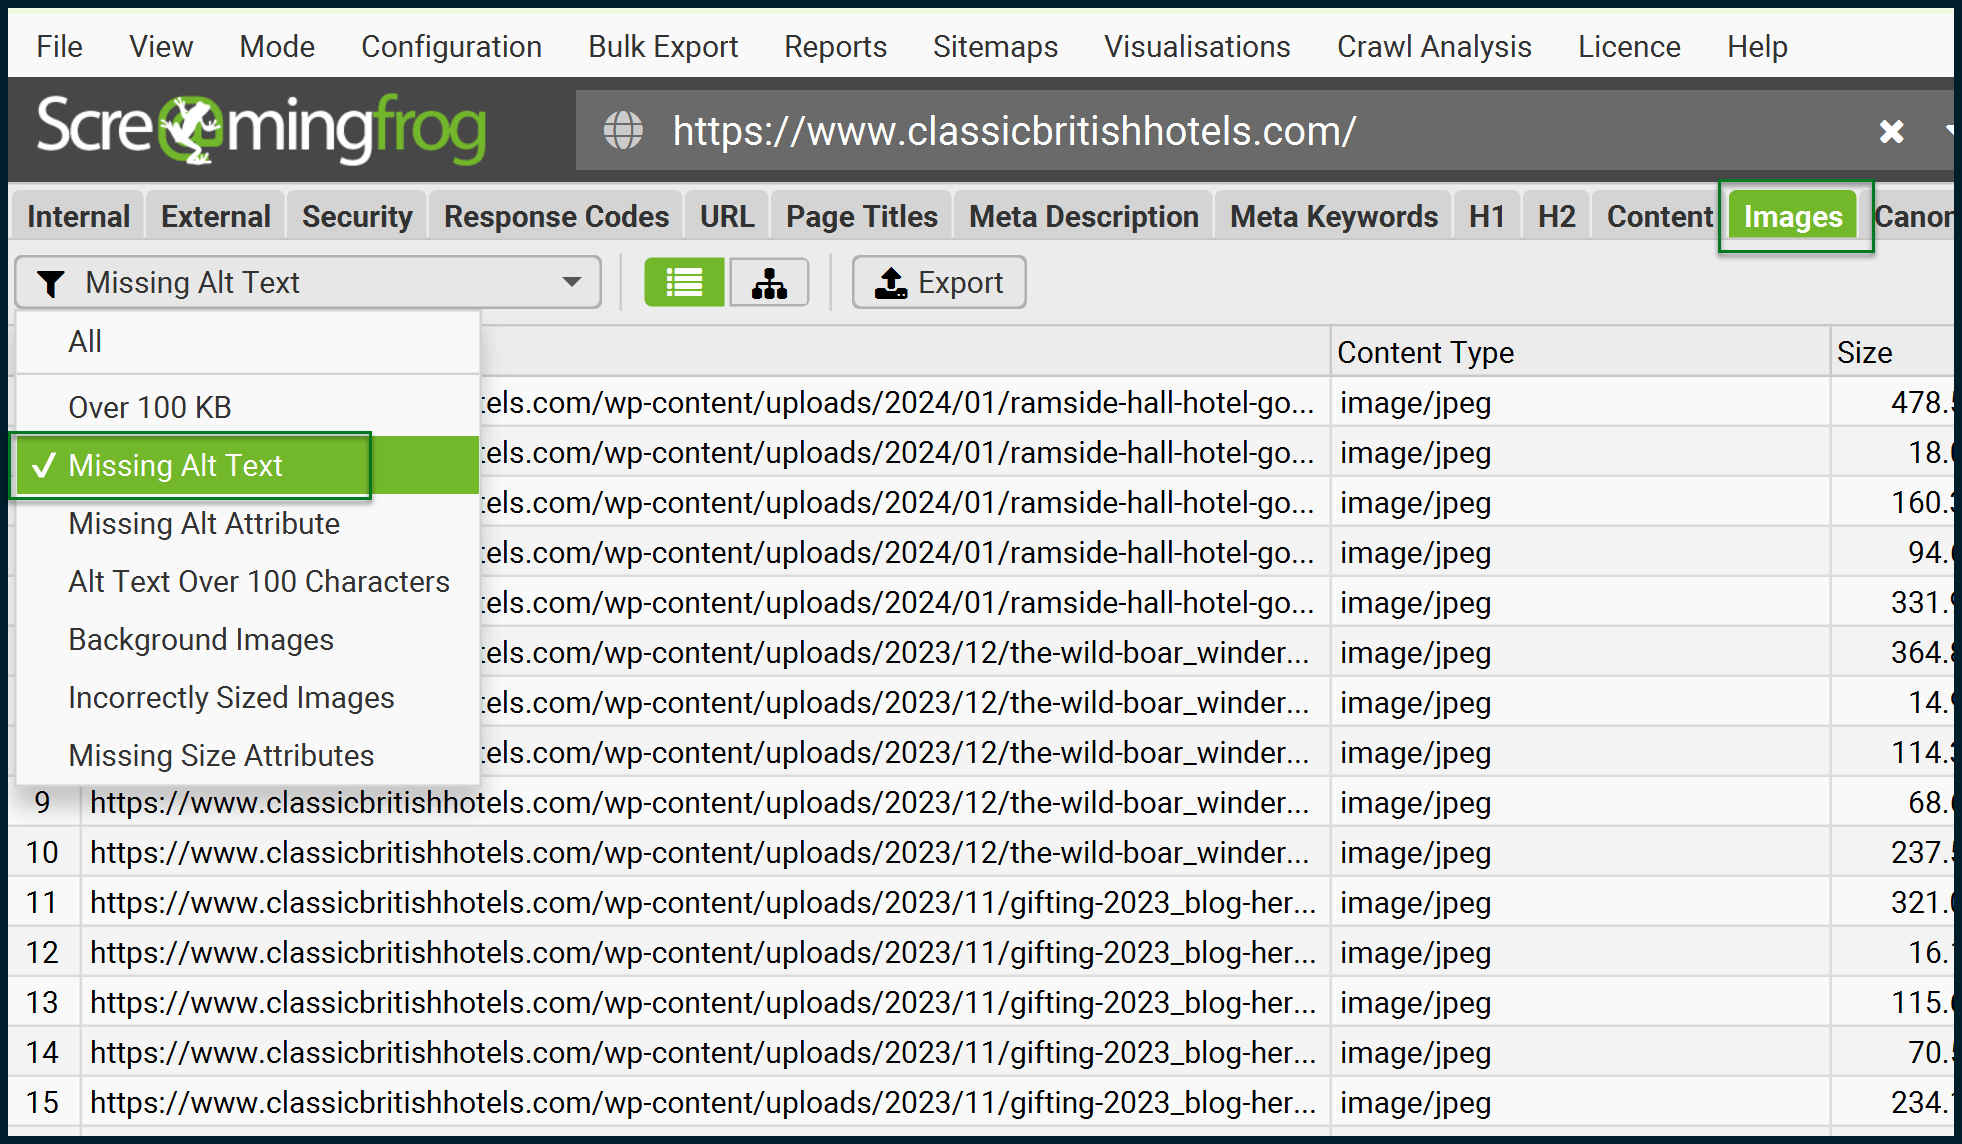
Be sure to click the Export button to have a local record (CSV / Excel) of all the images missing alt text.
We now have the addresses of all images missing their alt text. To run them through a locally installed AI (BLIP), which will interpret these images, we need to download them all. In this case, there are just over 230 images.
Step 2: Download the images ready for BLIP
You’ll need to copy all the image URLs from your “images_missing_alt_text” file (Column A). paste them into a Notepad (.txt) file, and then save.

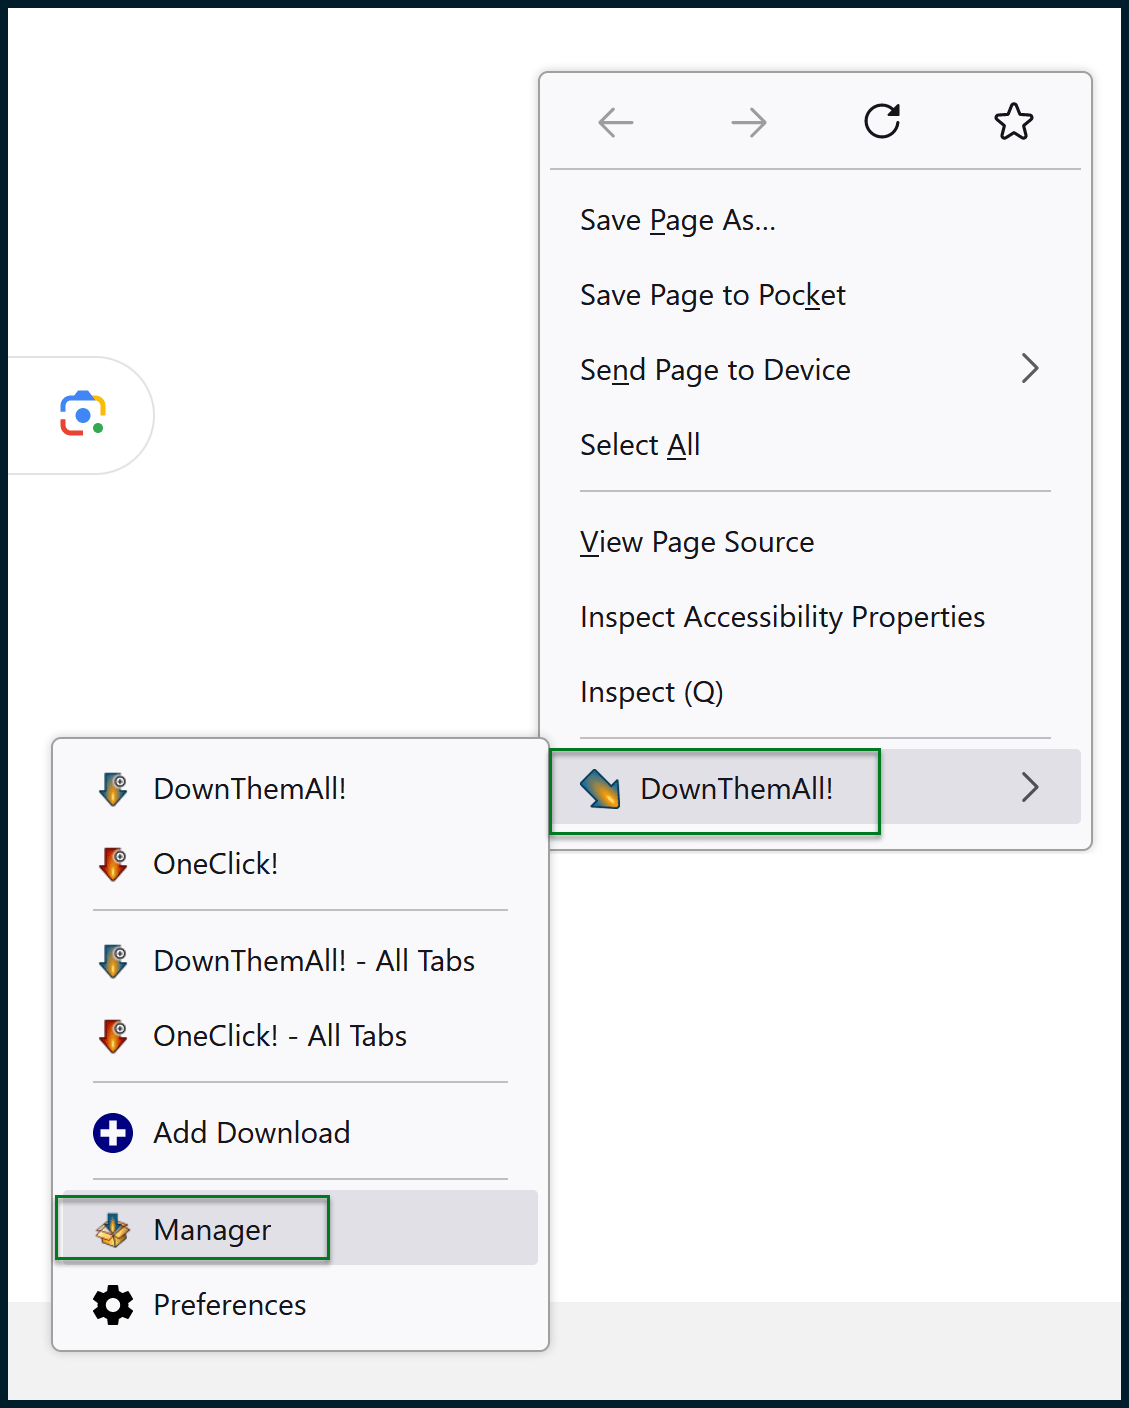
For the next part, I like using the Firefox add-on called DownThemAll!, which is also available for Chrome. Once the browser plugin is installed, open your browser. Right-click to open the context menu, then run the DownThemAll manager:
Right-click on the manager’s background and choose Import from file.
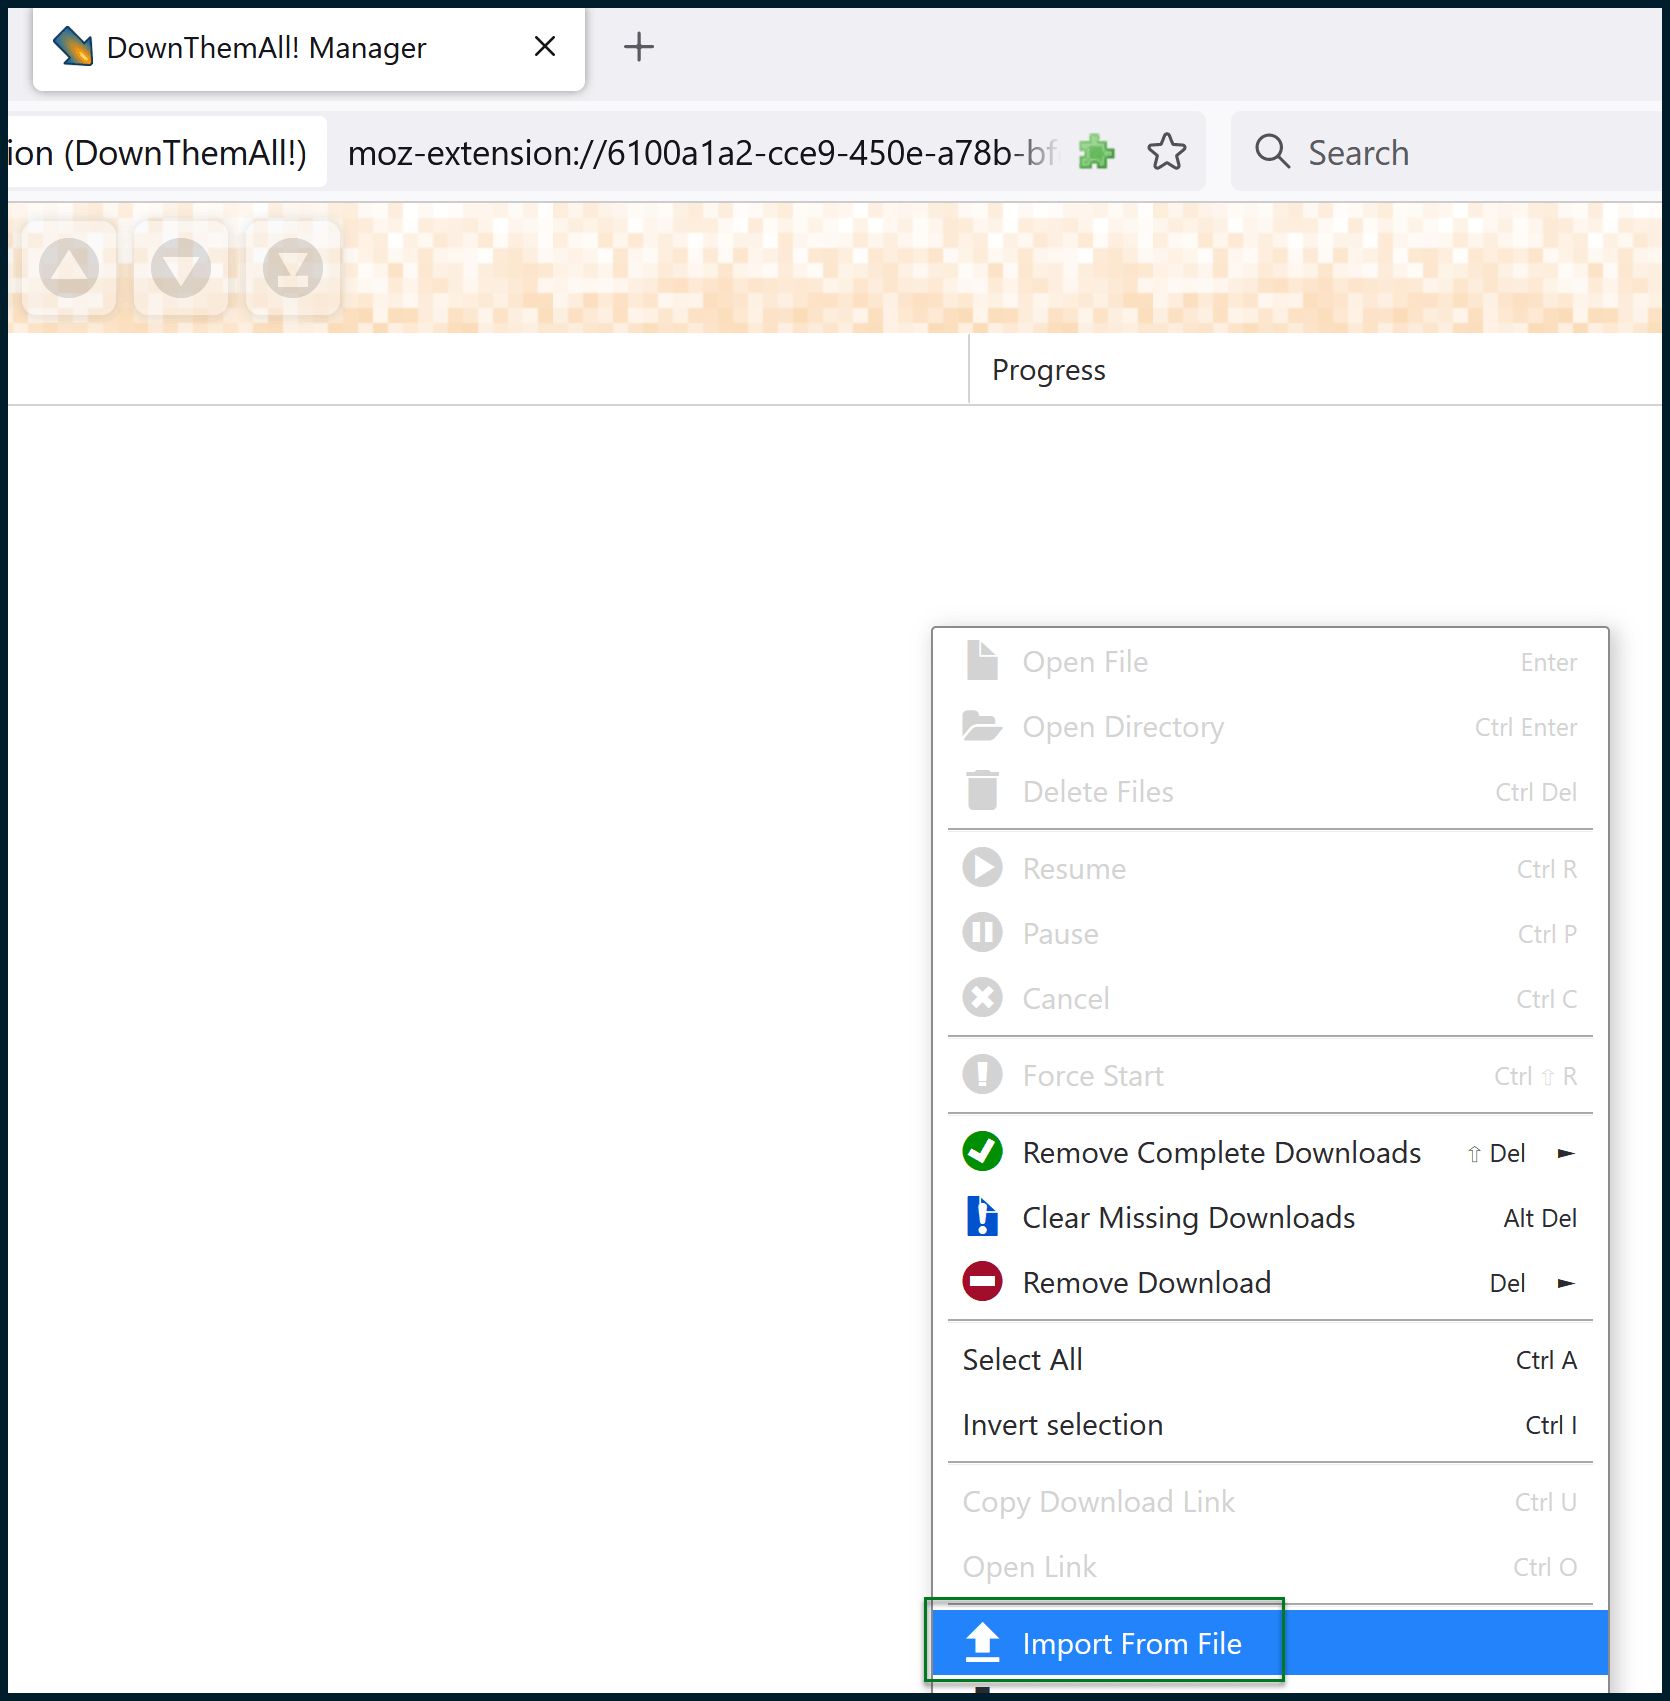
Select the text file that you created earlier. Once you do that, you can then finalize some settings before initiating the batch download:
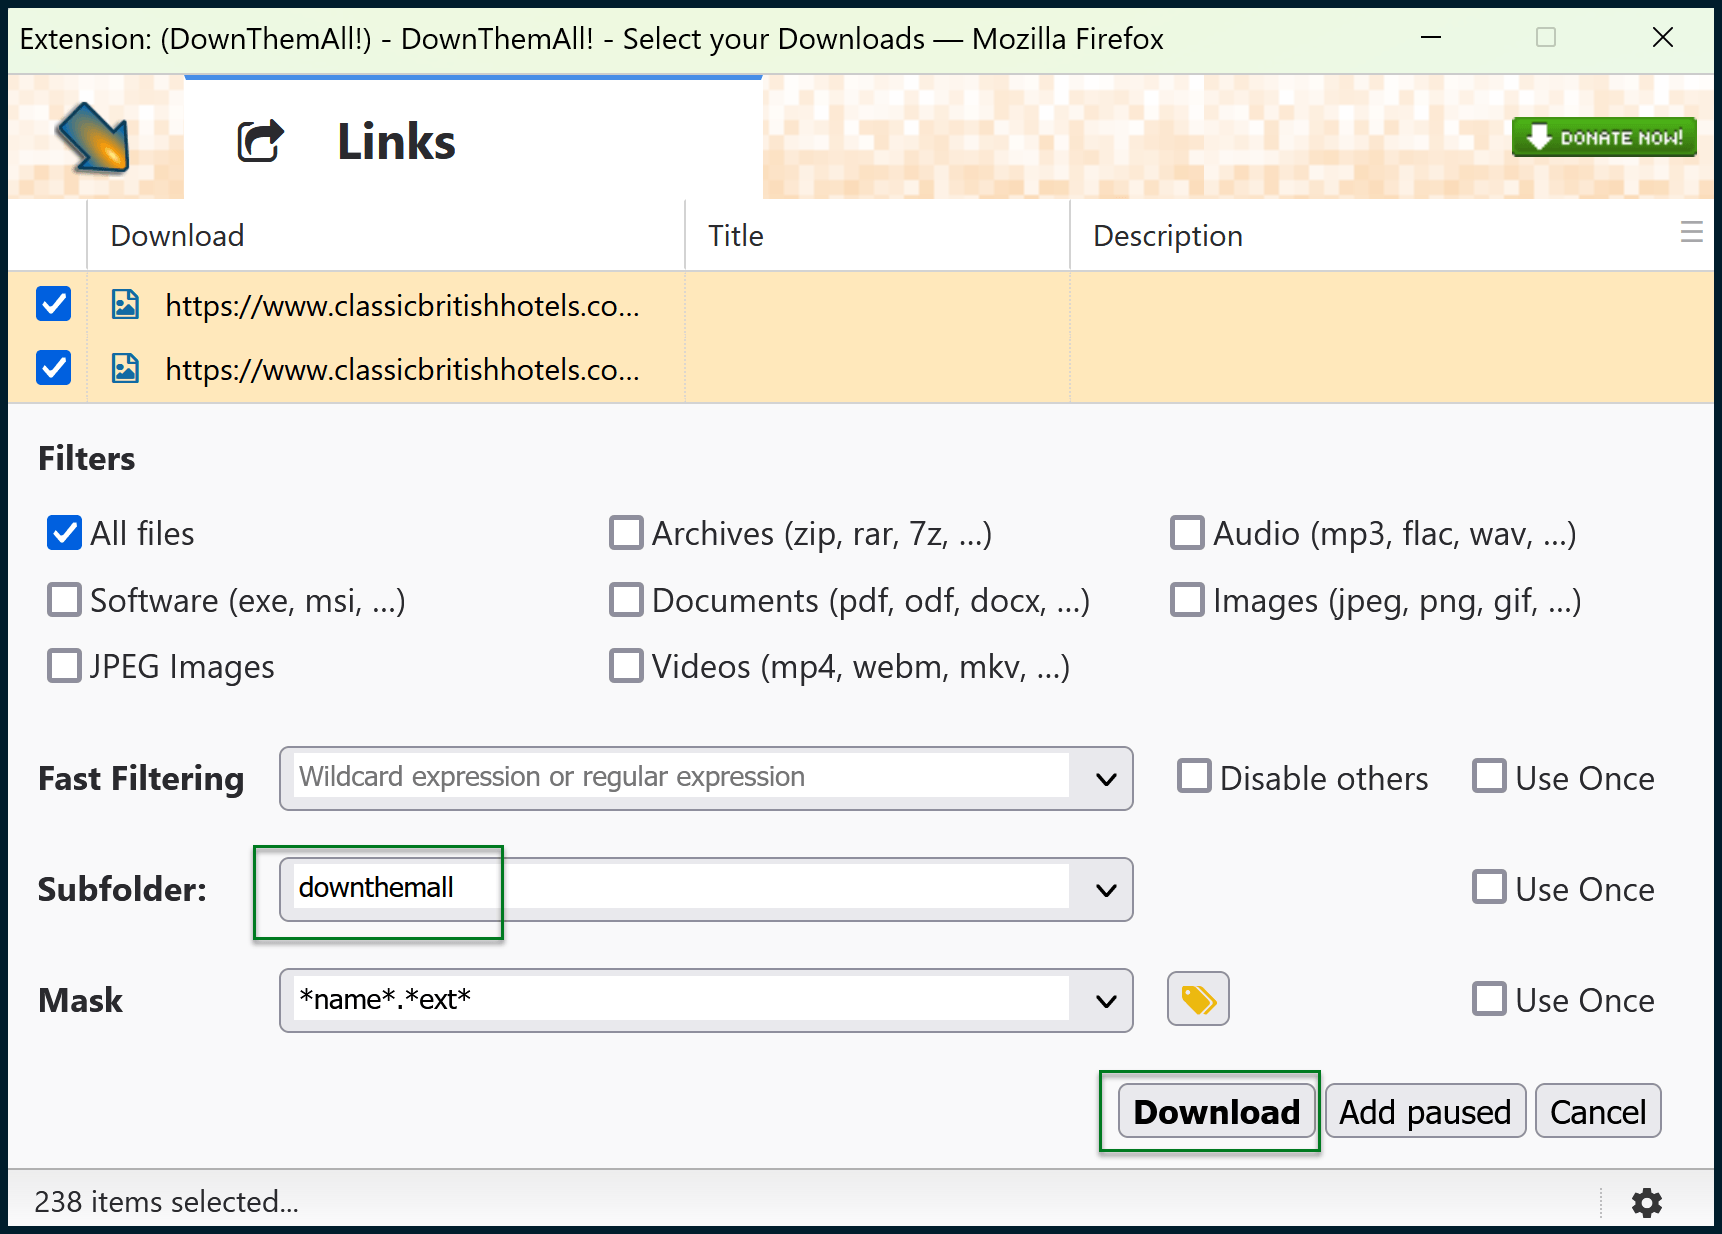
I like to specify a subfolder so that the downloaded images are grouped together.
DownThemAll! will create this subfolder within your Downloads folder, then place all the images inside. Click the Download button.
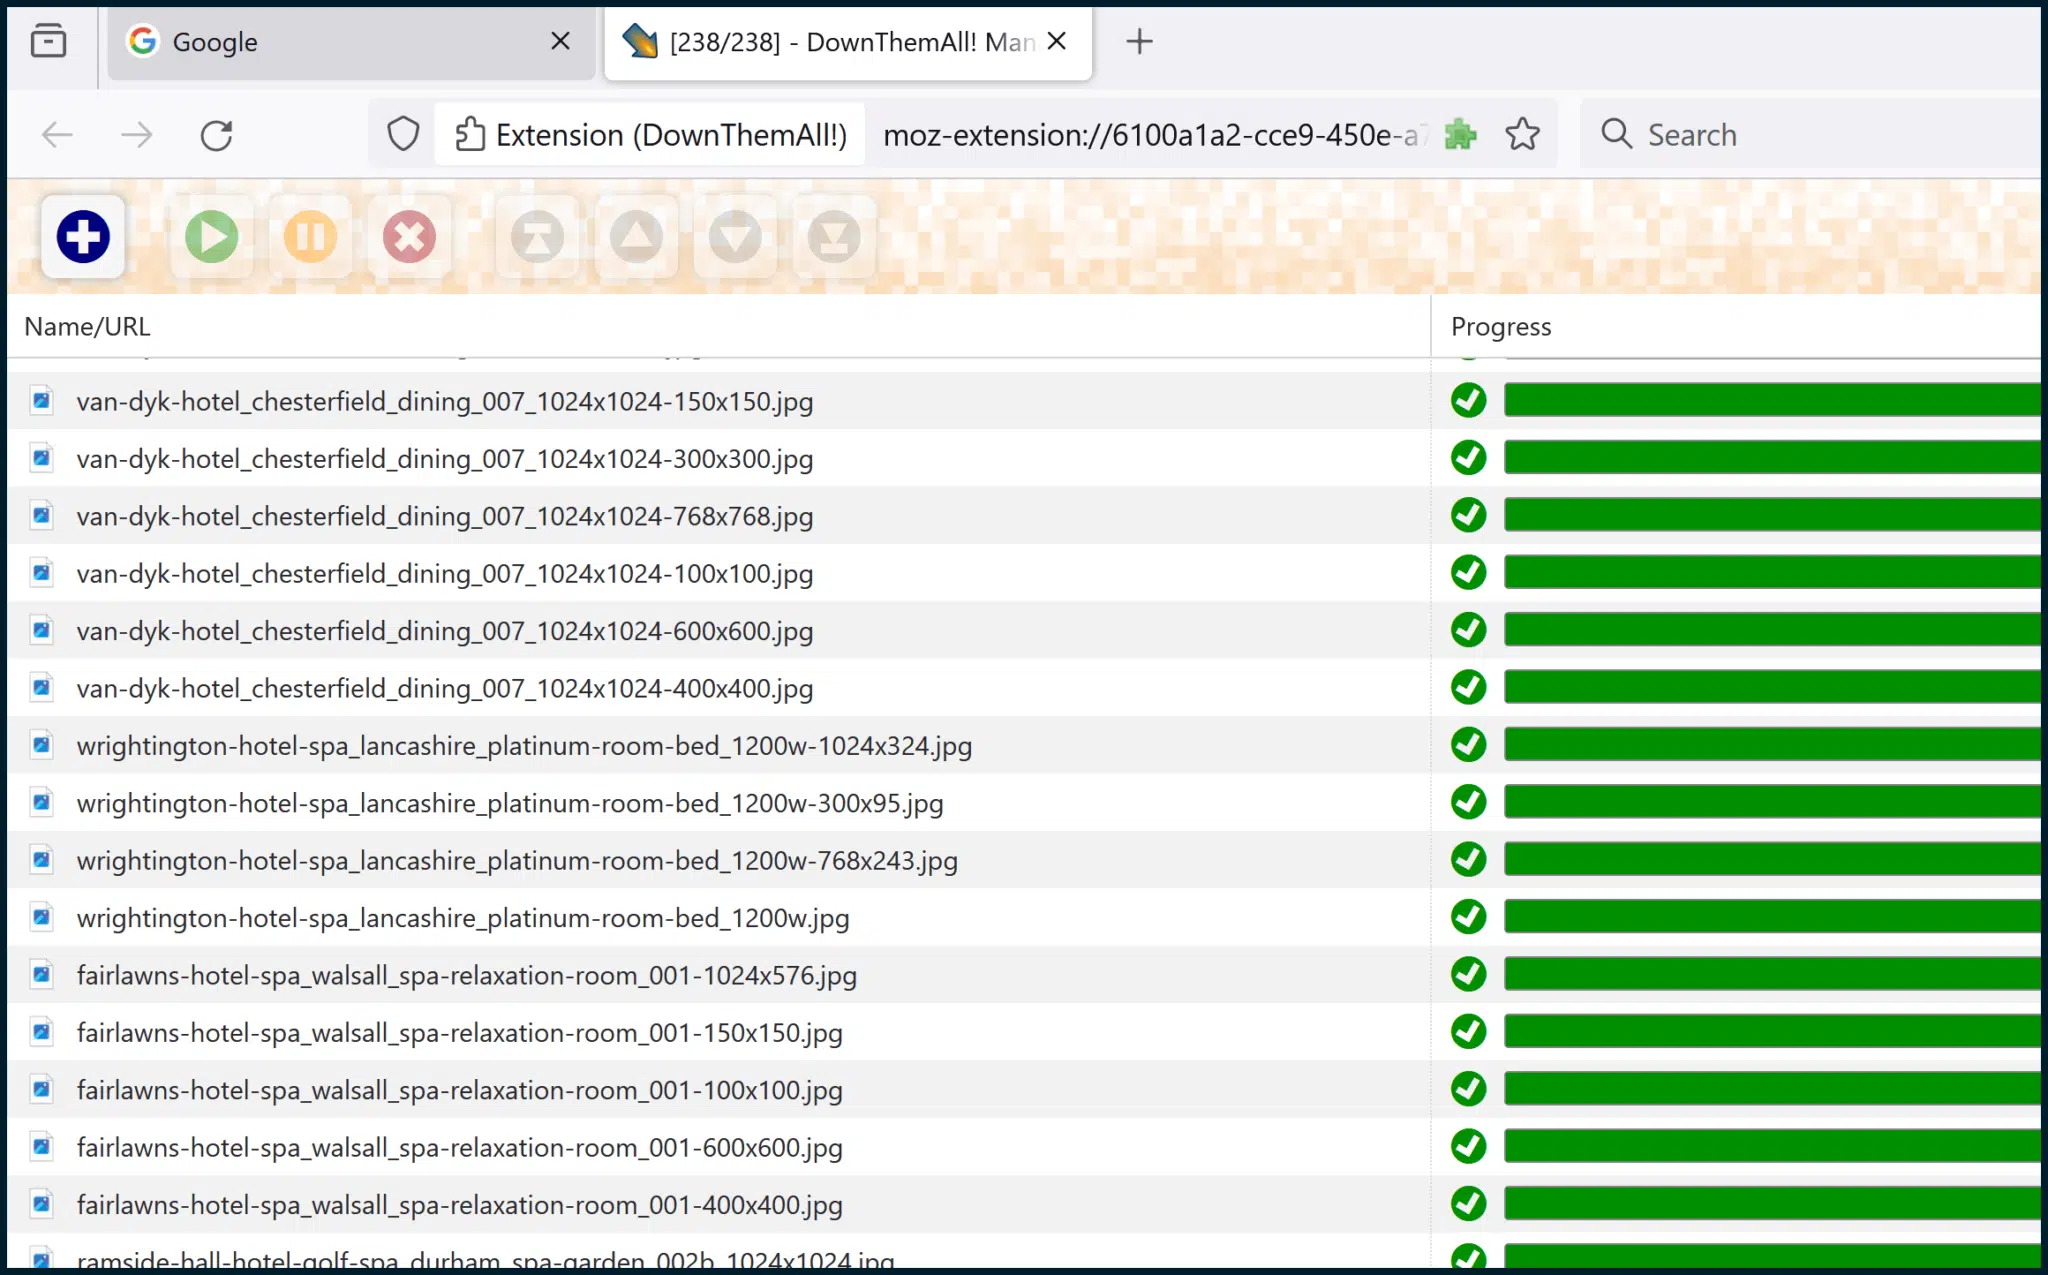
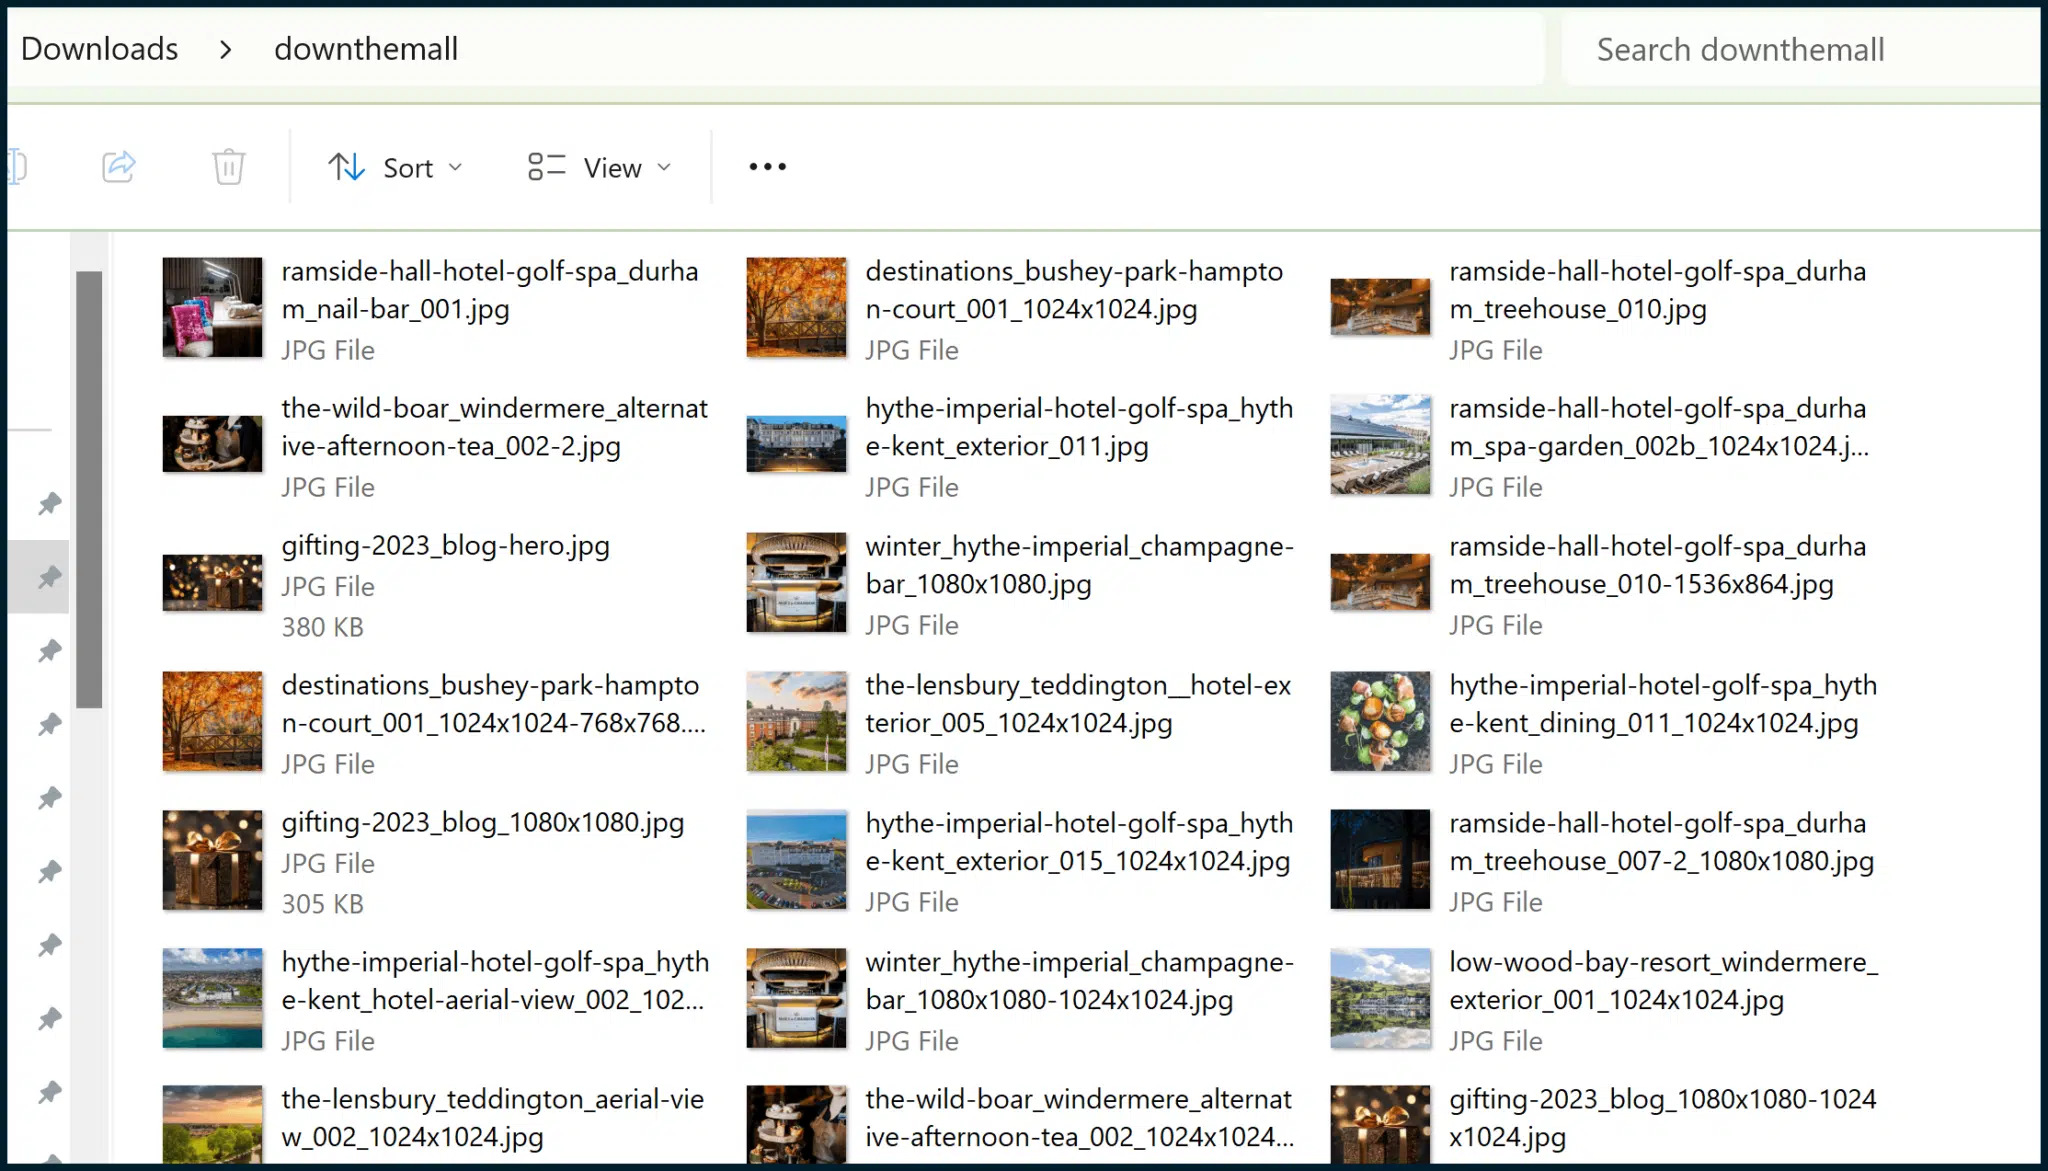
All of the images should now be downloaded.
Step 3: Install the image-to-text interpreter (BLIP)
Now that we have a folder full of images that don’t have alt text, we need a way to transmute the images into short snippets of text, for descriptive image captions.
I’ve explored using ChatGPT for on-page product descriptions before, but it’s not suitable for our needs. OpenAI, the creators of ChatGPT, focus on text-to-text AI, while we require image-to-text AI. For this purpose, we can use BLIP.
Since BLIP is simply a proposed model, we need a publicly accessible project that someone has produced using BLIP, something suitable for our purposes.
Using Git, we can clone the following project created by Cobanov: https://github.com/cobanov/image-captioning.
To do this, you will first have to install Git (documentation here) and then run a couple of commands (using the installed Git CMD) similar to:
cd c:git
git clone https://github.com/cobanov/image-captioning.git
Please note that the above assumes that you have created a folder named “git” in your C: drive (Windows). Once executed, the project will be cloned to c:gitimage-captioning.
You should also visit Cobanov’s project page here, then scroll down and read the README section, including the Usage sub-section.
Note that this project relies upon Python and also requires you to install some Python modules that are not shipped with Python’s (Windows) installer by default. I used Python version 3.10.9 for this demo.
After connecting Windows Command Prompt to my Python install by amending the Windows PATH variable (I believe Python also has options to do this as you install it), I needed to run some additional CMD commands to get everything working as I would like:
python -m pip install --upgrade tqdm
python -m pip install --upgrade torch
python -m pip install torch==2.1.0 torchvision==0.16.0 torchaudio==2.1.0 --index-url https://download.pytorch.org/whl/cu118
python -m pip install timm==0.4.12 transformers==4.17.0 fairscale==0.4.4 pycocoevalcap pillow
If you run one or two of the above commands and receive some errors, try not to worry too much. The referenced commands represent the sequence of module installations, which proved successful for me.
Since I use Python quite a lot, there may be other dependencies that are already satisfied by my Python install.
Later, if you run the project (we haven’t reached that stage yet, in this article) and see errors relating to Modules not existing, or not being found, you should additionally install such modules.
Get the daily newsletter search marketers rely on.
Step 4: Create text captions (via BLIP) for your downloaded images
Your project folder should look similar to this one:
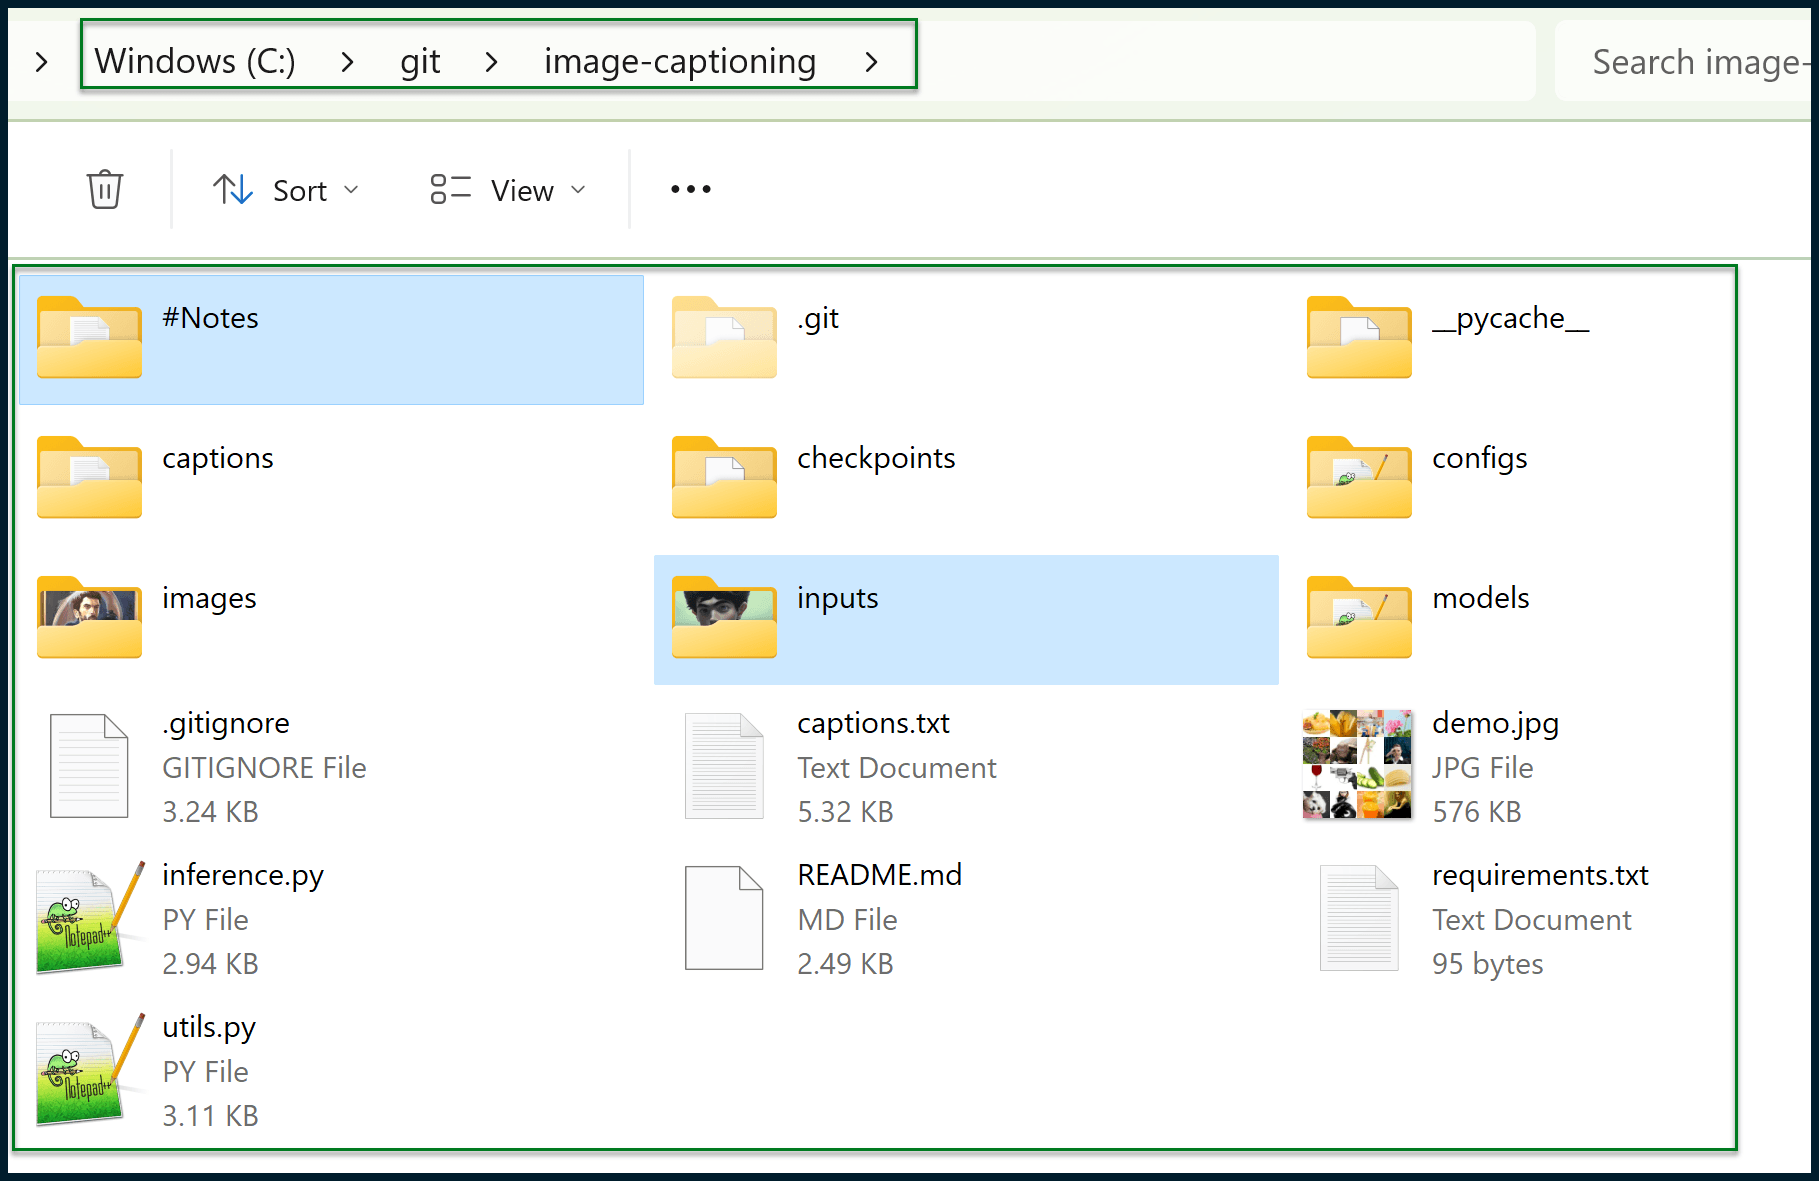
My project folder has a couple of extra folders.
Since documentation for such projects is rarely perfect, I created my own notes in a #Notes folder.
Since the images folder contains proof of concept images to run against the AI (demo images) provided by the project author, I also created my own folder to place new images in, named inputs.
I suggest you also create your own inputs folder so you don’t get muddled up with the demo images.
Also note that checkpoints may not exist until you run the project for the first time, which should trigger the download of a specified checkpoint/data model.
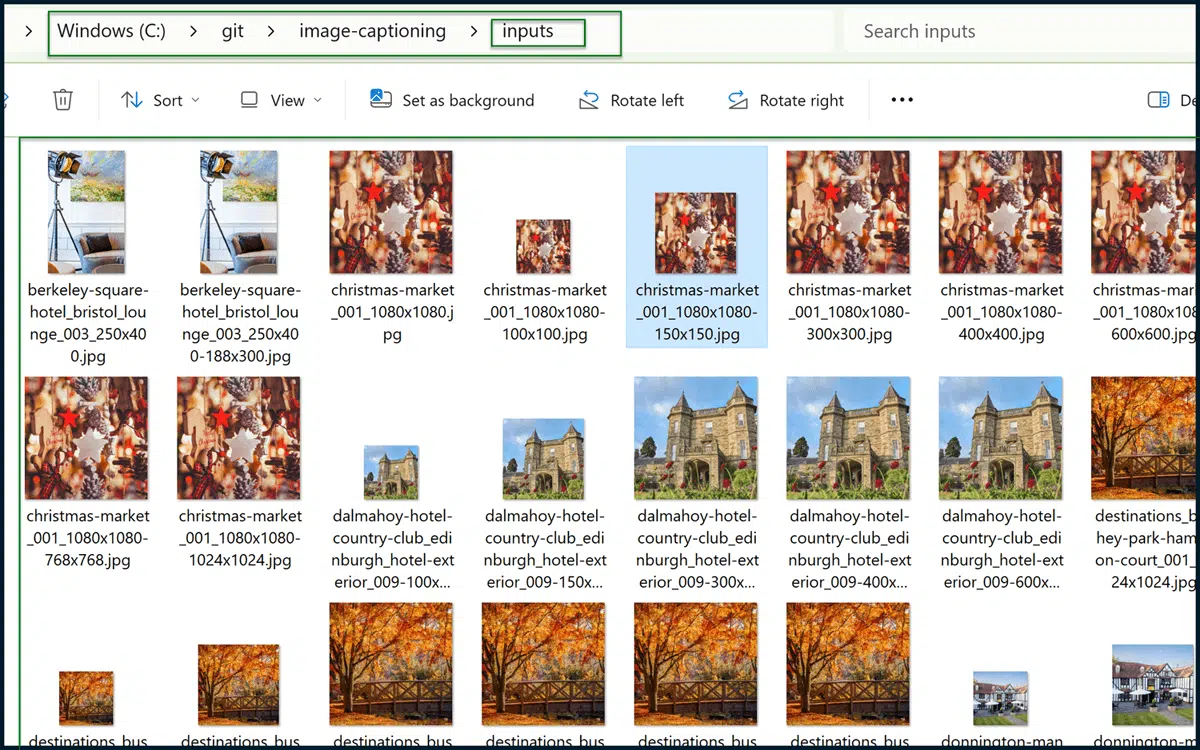
Once you have done all that, copy all of the images that you downloaded earlier (via DownThemAll) to the inputs folder:
Now it’s time to execute our project. Open Windows Command Prompt and execute a couple of commands like this:
cd C:gitimage-captioning
python inference.py -i C:gitimage-captioninginputs -b 238
Note that you may need to amend the above commands to point to the correct Git project install and image inputs folder if you have created your Git project with a location or structure different from mine.
The “-b 238” part of the command is very important. The project and script need to be told how large the batch is.
I have 238 images to caption in this instance, so the correct “-b” (batch) number is 238. You can ask the script to execute your images via numerous smaller batches.
For instance, if I wanted the script to save captions when it was halfway through and then again at the end, I could use “-b 119” since 119 is half of 238.
Note that you need to be careful here. If you input a number that is not a factor of (i.e., cannot be evenly divided into) the total number of images, the script will crash. You have been warned!
Let’s attempt an execution:
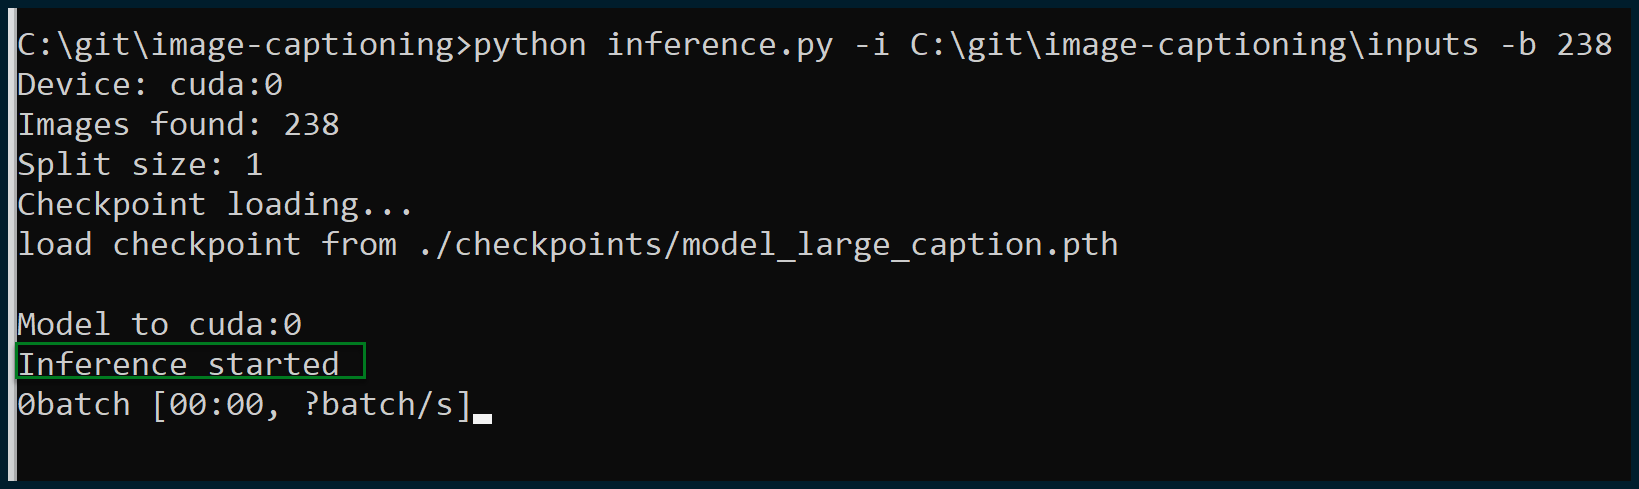
Excellent, execution has been successful, and inference has commenced. All the images were found; this is exactly what we wanted to see.
If the script crashes and the number of images found is different from the total number of images within your inputs folder, then something is wrong with the format of your images.
By experimenting with this project and its associated scripts, I have found that only JPG and PNG images are accepted.
- You can use WebP images by simply changing their file extensions to “.png.” JPEG images will also be accepted if the file extensions are altered to “.jpg” (without the “e”). There’s no need to make any actual changes to the images themselves.
- SVG images seem to be fundamentally incompatible and will not be accepted. (This AI is probably only capable of working with rasterized rather than vector-based images.)
Once the script is running successfully, note that your own GPU (graphics card) and local machine are doing the work. You’re not accessing an API to generate text from images, it’s all happening on your workstation.
As such, a more powerful, more graphically capable PC is advised. I’m running this on a machine with a 30-series NVIDIA graphics card (and a Ryzen 7 5800X). The results didn’t take long to come in (a minute or two), but the more images you have to analyze, the more it will take longer.
Now that we have run the script, it’s time to make sense of the output.
Step 5: Organize and make sense of the output
You should now have a generated text file like this one:
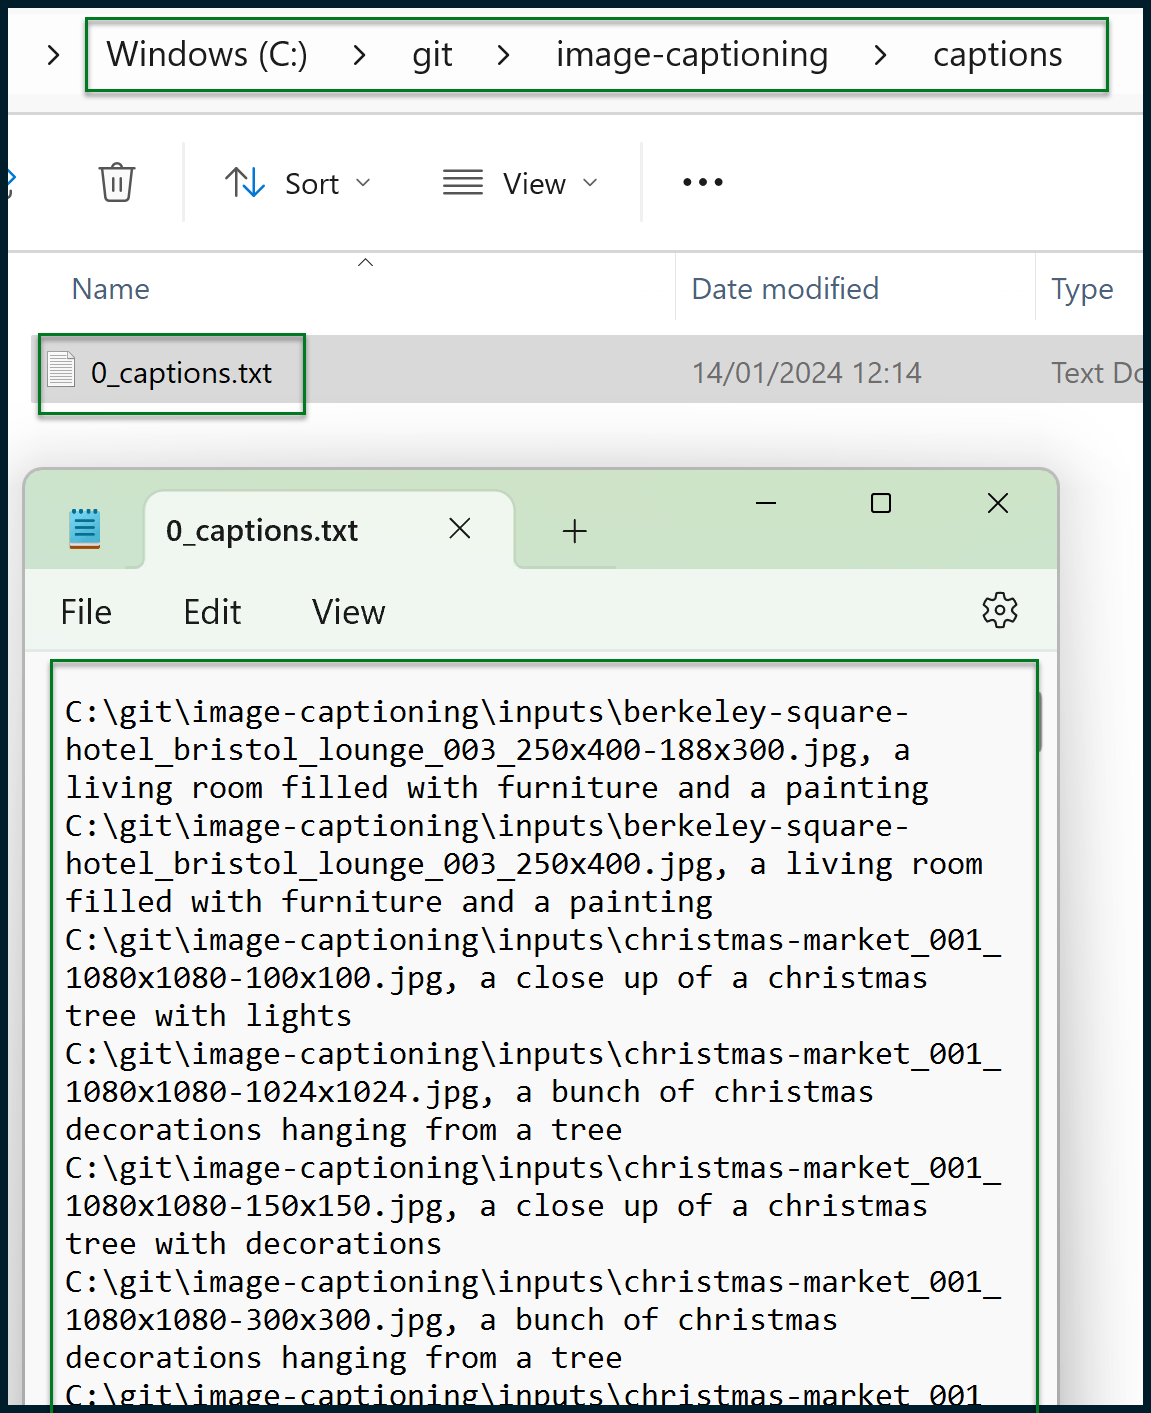
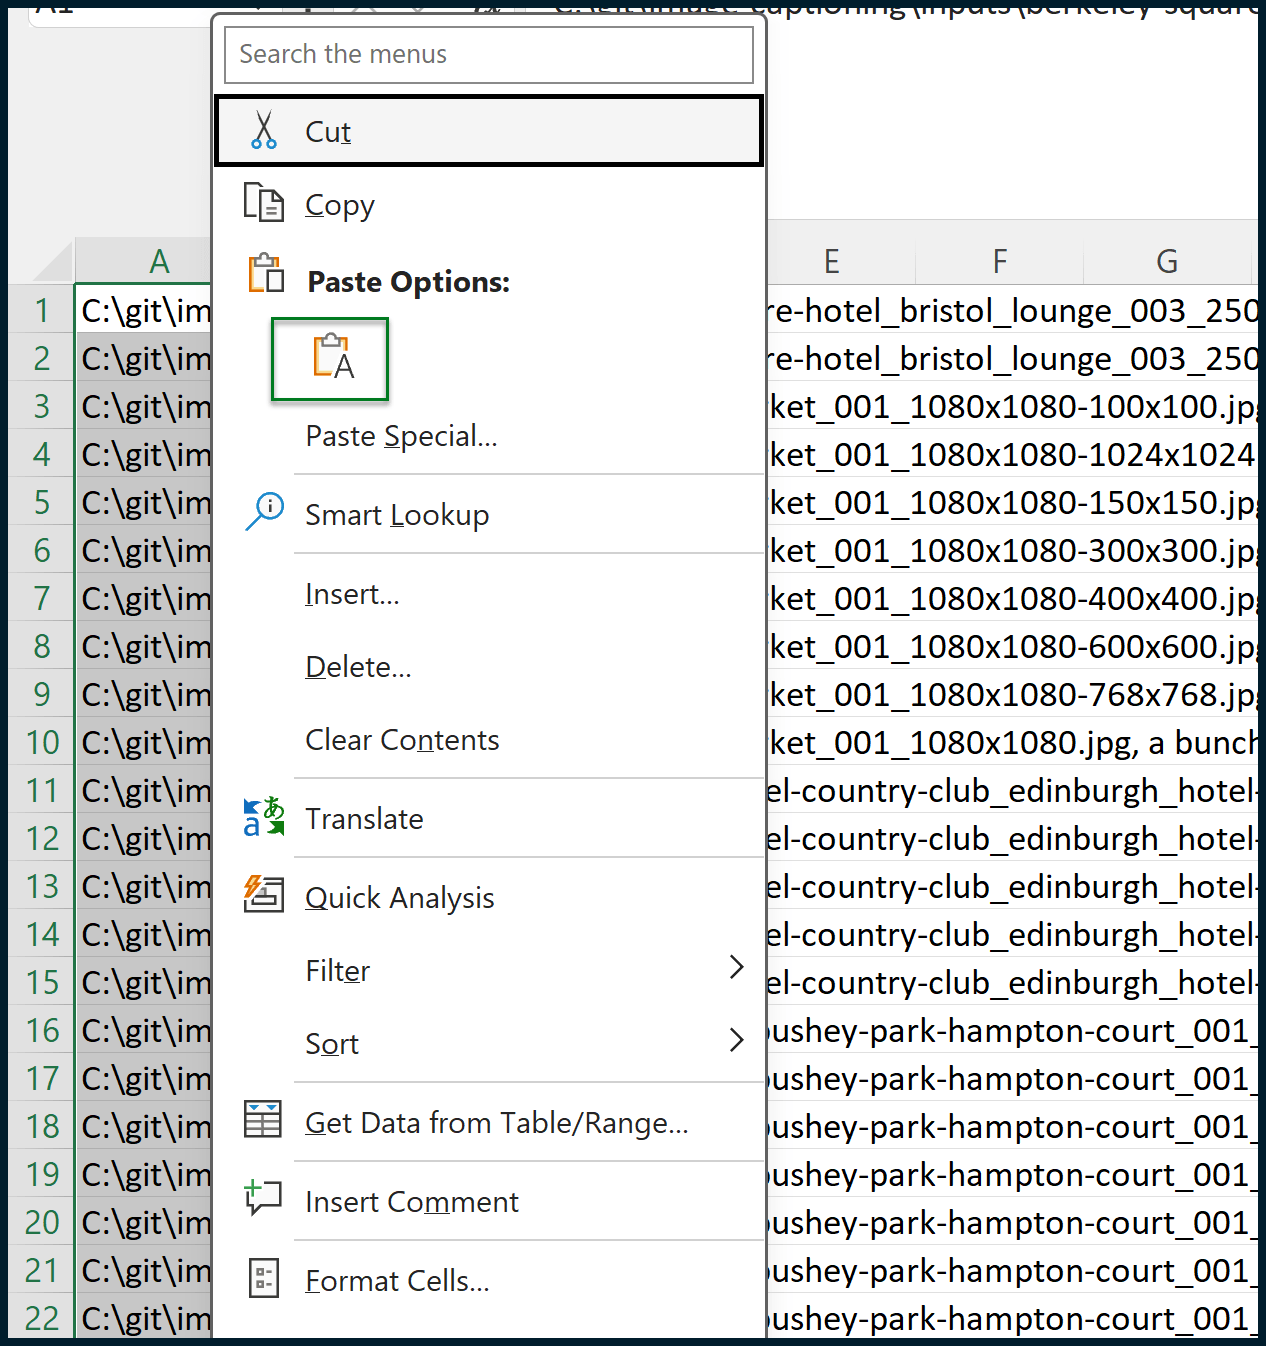
The output may look intimidating, but it’s simply a comma-separated list that can be easily handled in Microsoft Excel (or similar). Start by copying the entire contents of the notepad file and then pasting them as values into a fresh Excel sheet:
We need to separate the image file paths (local) from the image captions. To do this, we must create a couple of formulas in columns B and C.
There’s also a way to do this using the Text to Columns entry in the Data tab. However, this data is split by “, ” (comma space) rather than a single character, so for our purposes, formulas will work better. (This also evades potential complications where image captions contain commas.)

Assuming the pasted data resides in Column A, opening from cell A1, the formula that you need for cell B1 is:
=LEFT(A1, FIND(", ", A1) - 1)
The formula which you need for cell C1 is:
=MID(A1, FIND(", ", A1) + 2, LEN(A1))
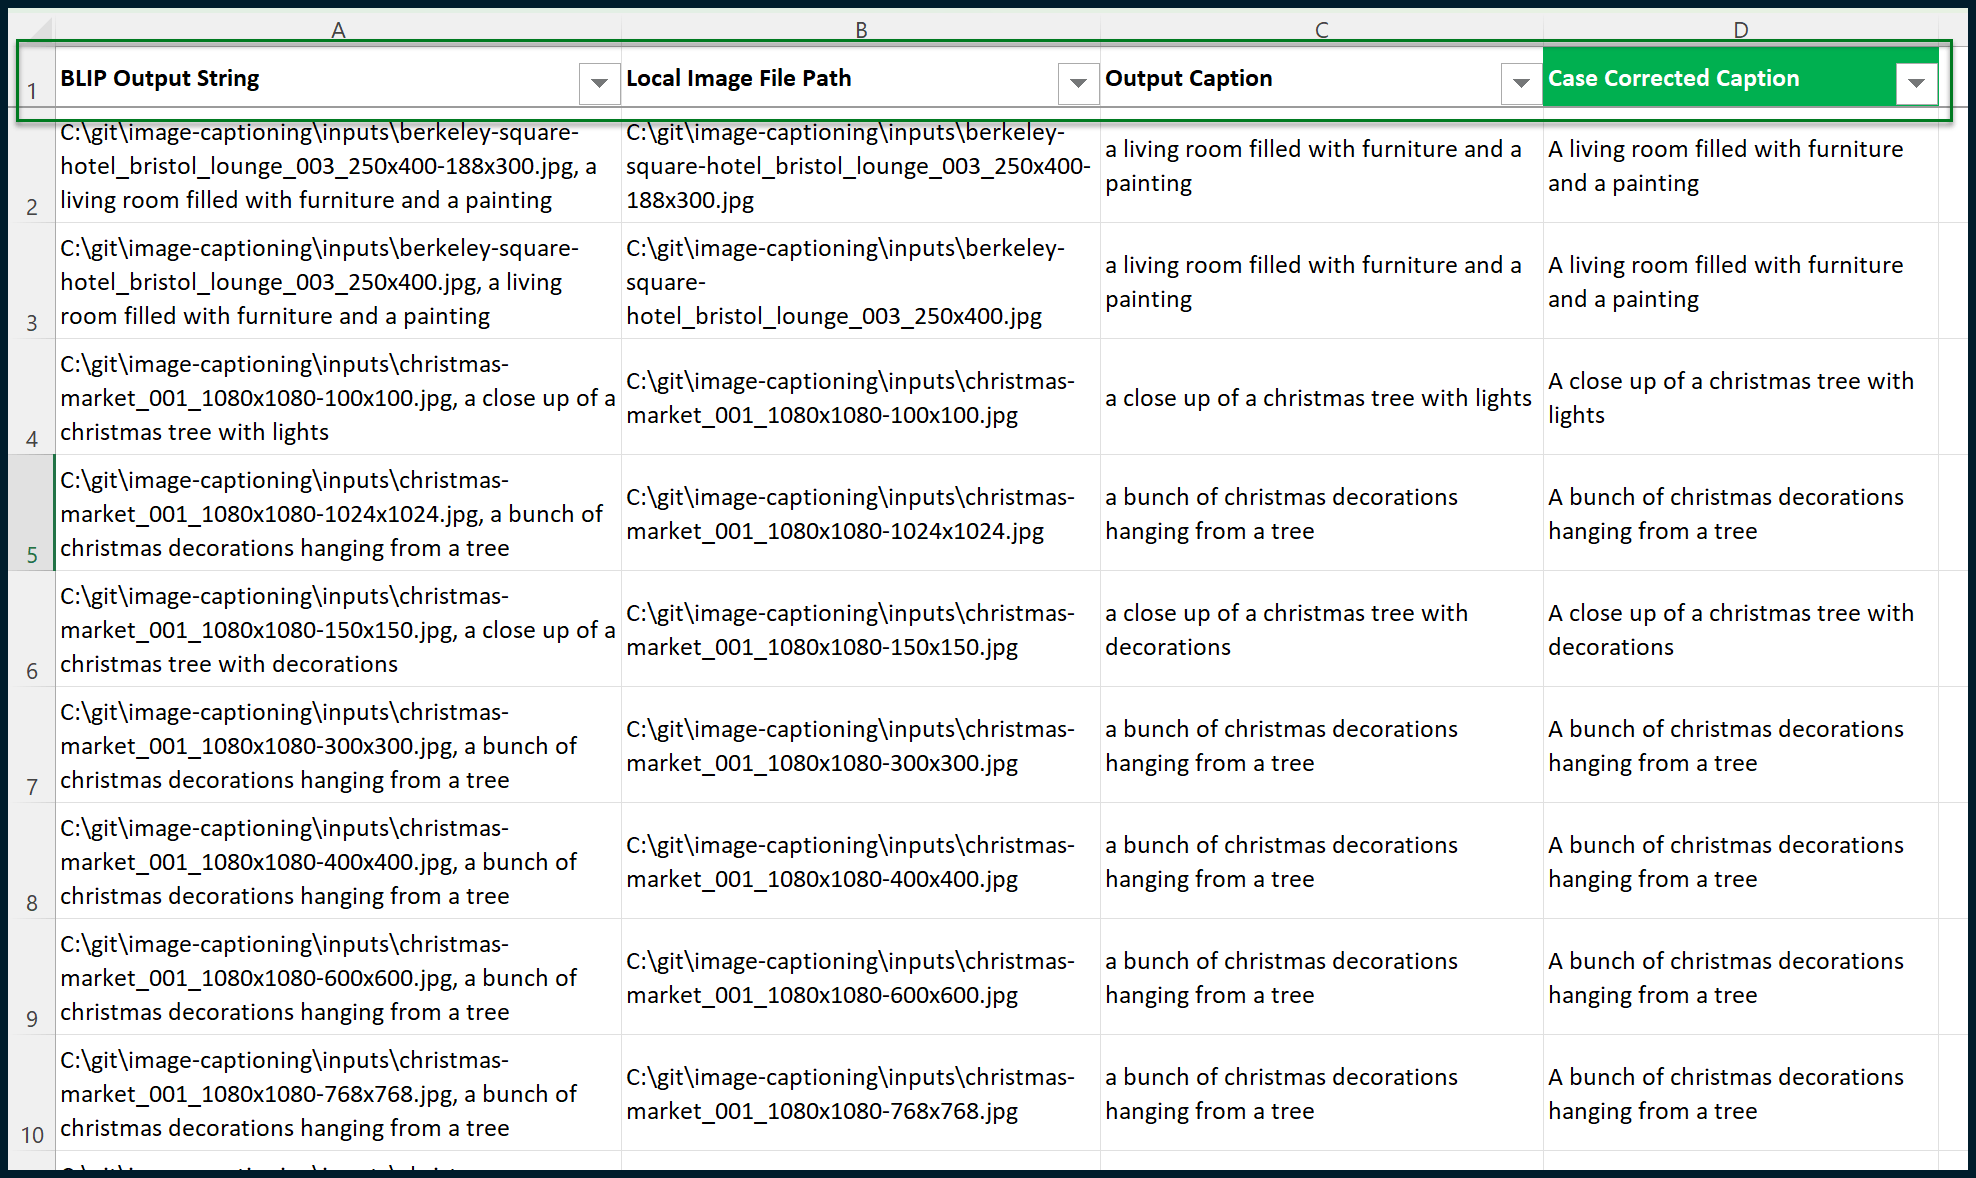
Each formula can be copied down its column (B or C) until the total data population is achieved. Once this is done, we should correct the casing of the generated image captions.
To emulate sentence casing, we should capitalize the first letter of each text string contained within column C:
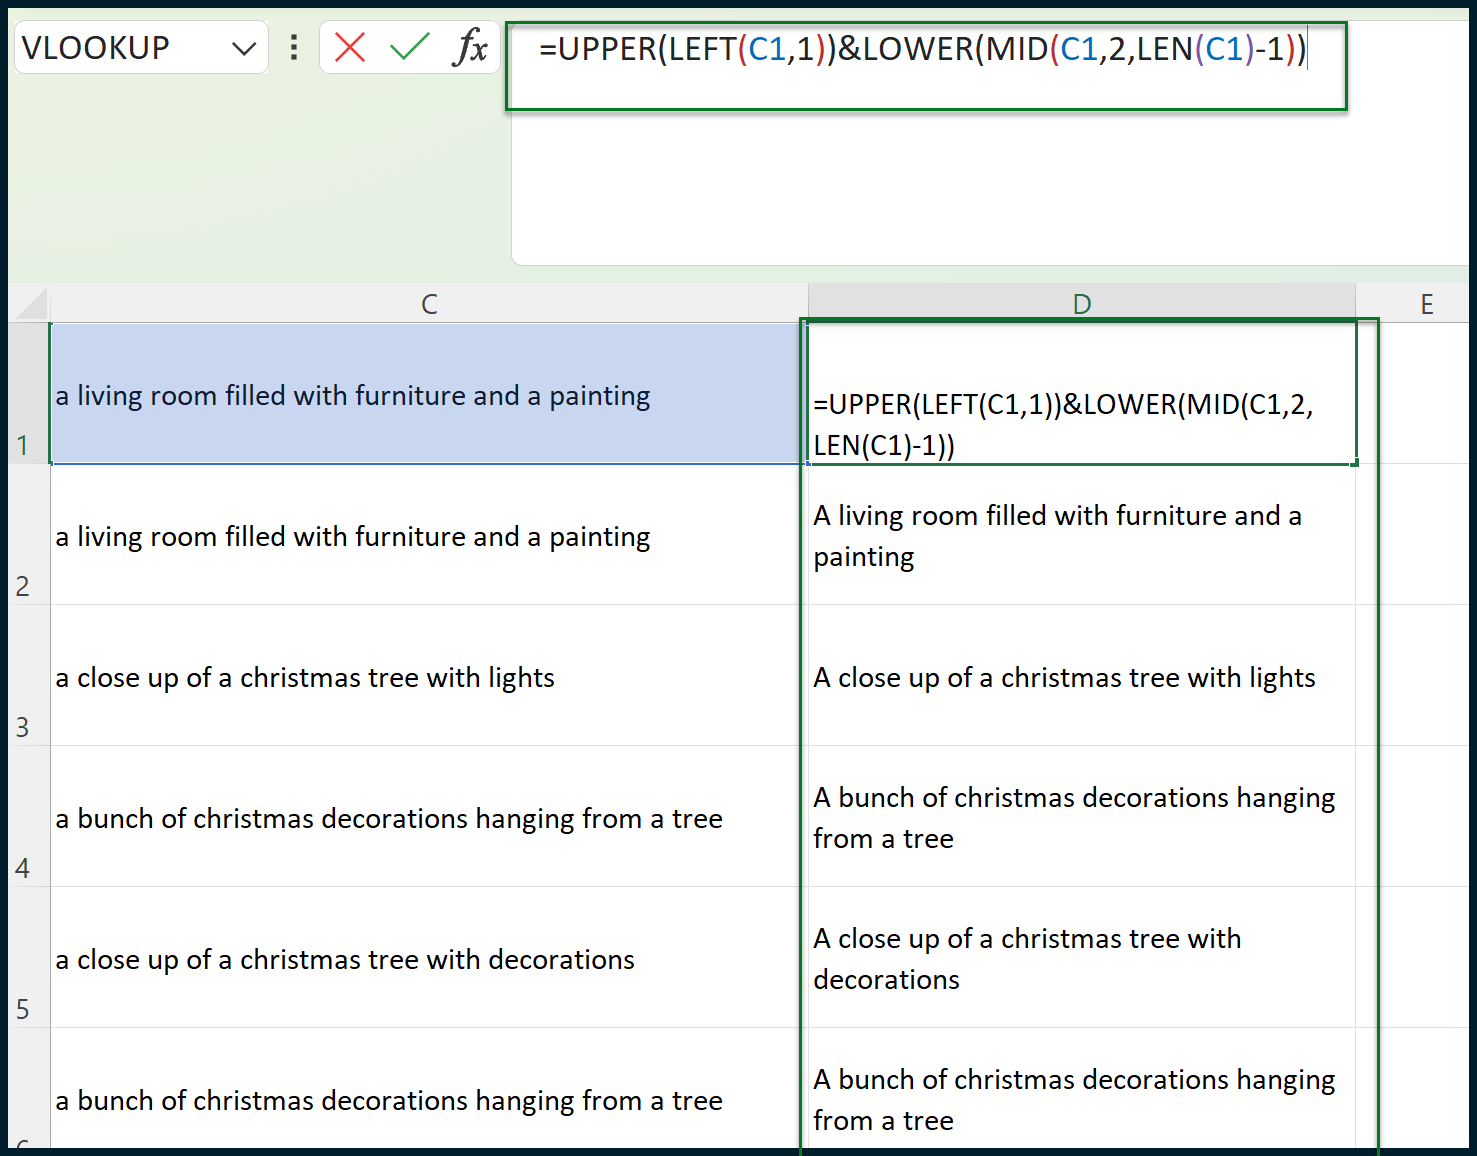
The formula for cell D1 is:
=UPPER(LEFT(C2,1))&LOWER(MID(C2,2,LEN(C2)-1))
Now, we can begin to format the data. We can add a new row for column titles.
You can also take this opportunity to apply column filters or (preferred) format the table as an actual table. Adding some frozen panes may also help:
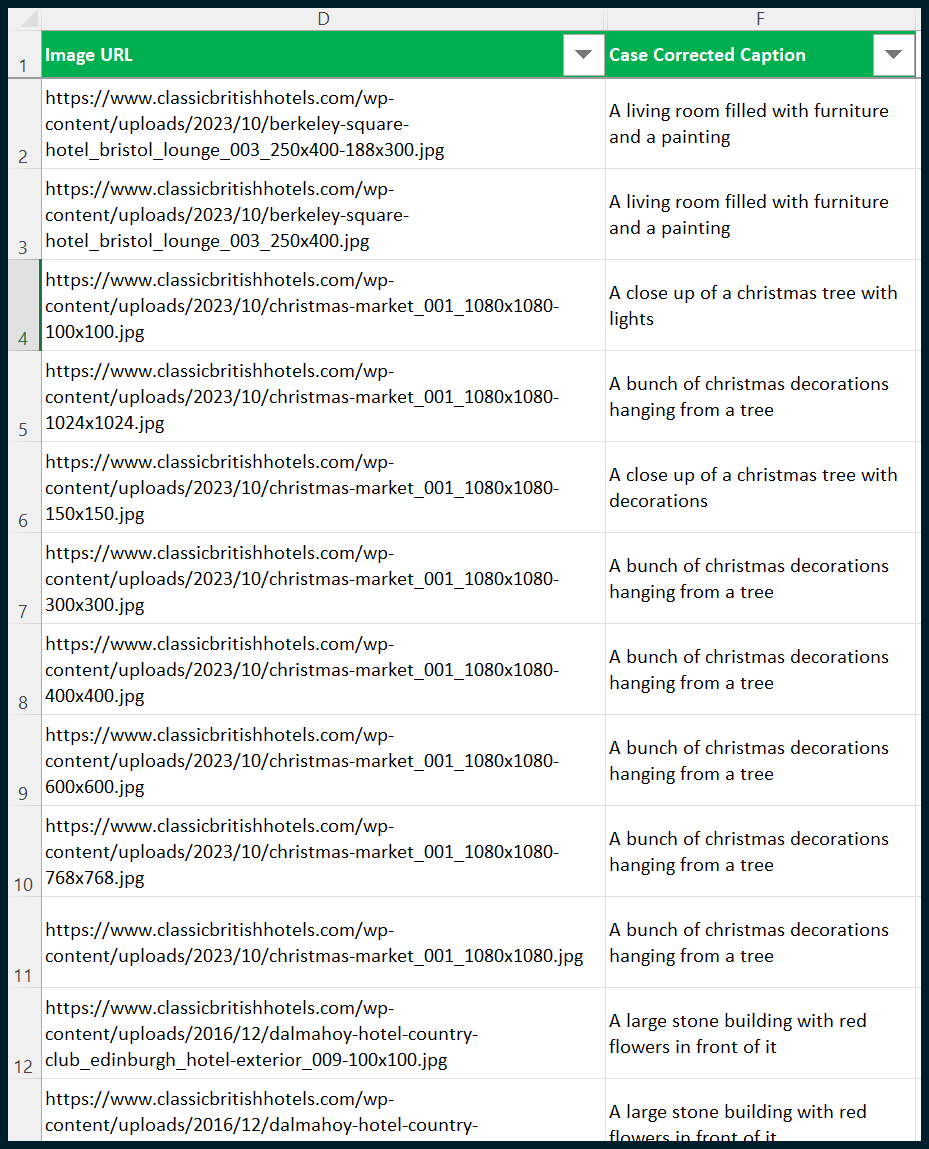
This is great, but we don’t know which image captions relate to which specific images on the website. We only have local image file paths rather than the original image URLs (as they appear online, on the website).
We need to isolate each image’s individual file name, separate from the total file path. If we do this, we can snap the data back together with VLOOKUP.
Create a new column in between columns B and C (so, a new column C) and apply the following formula:
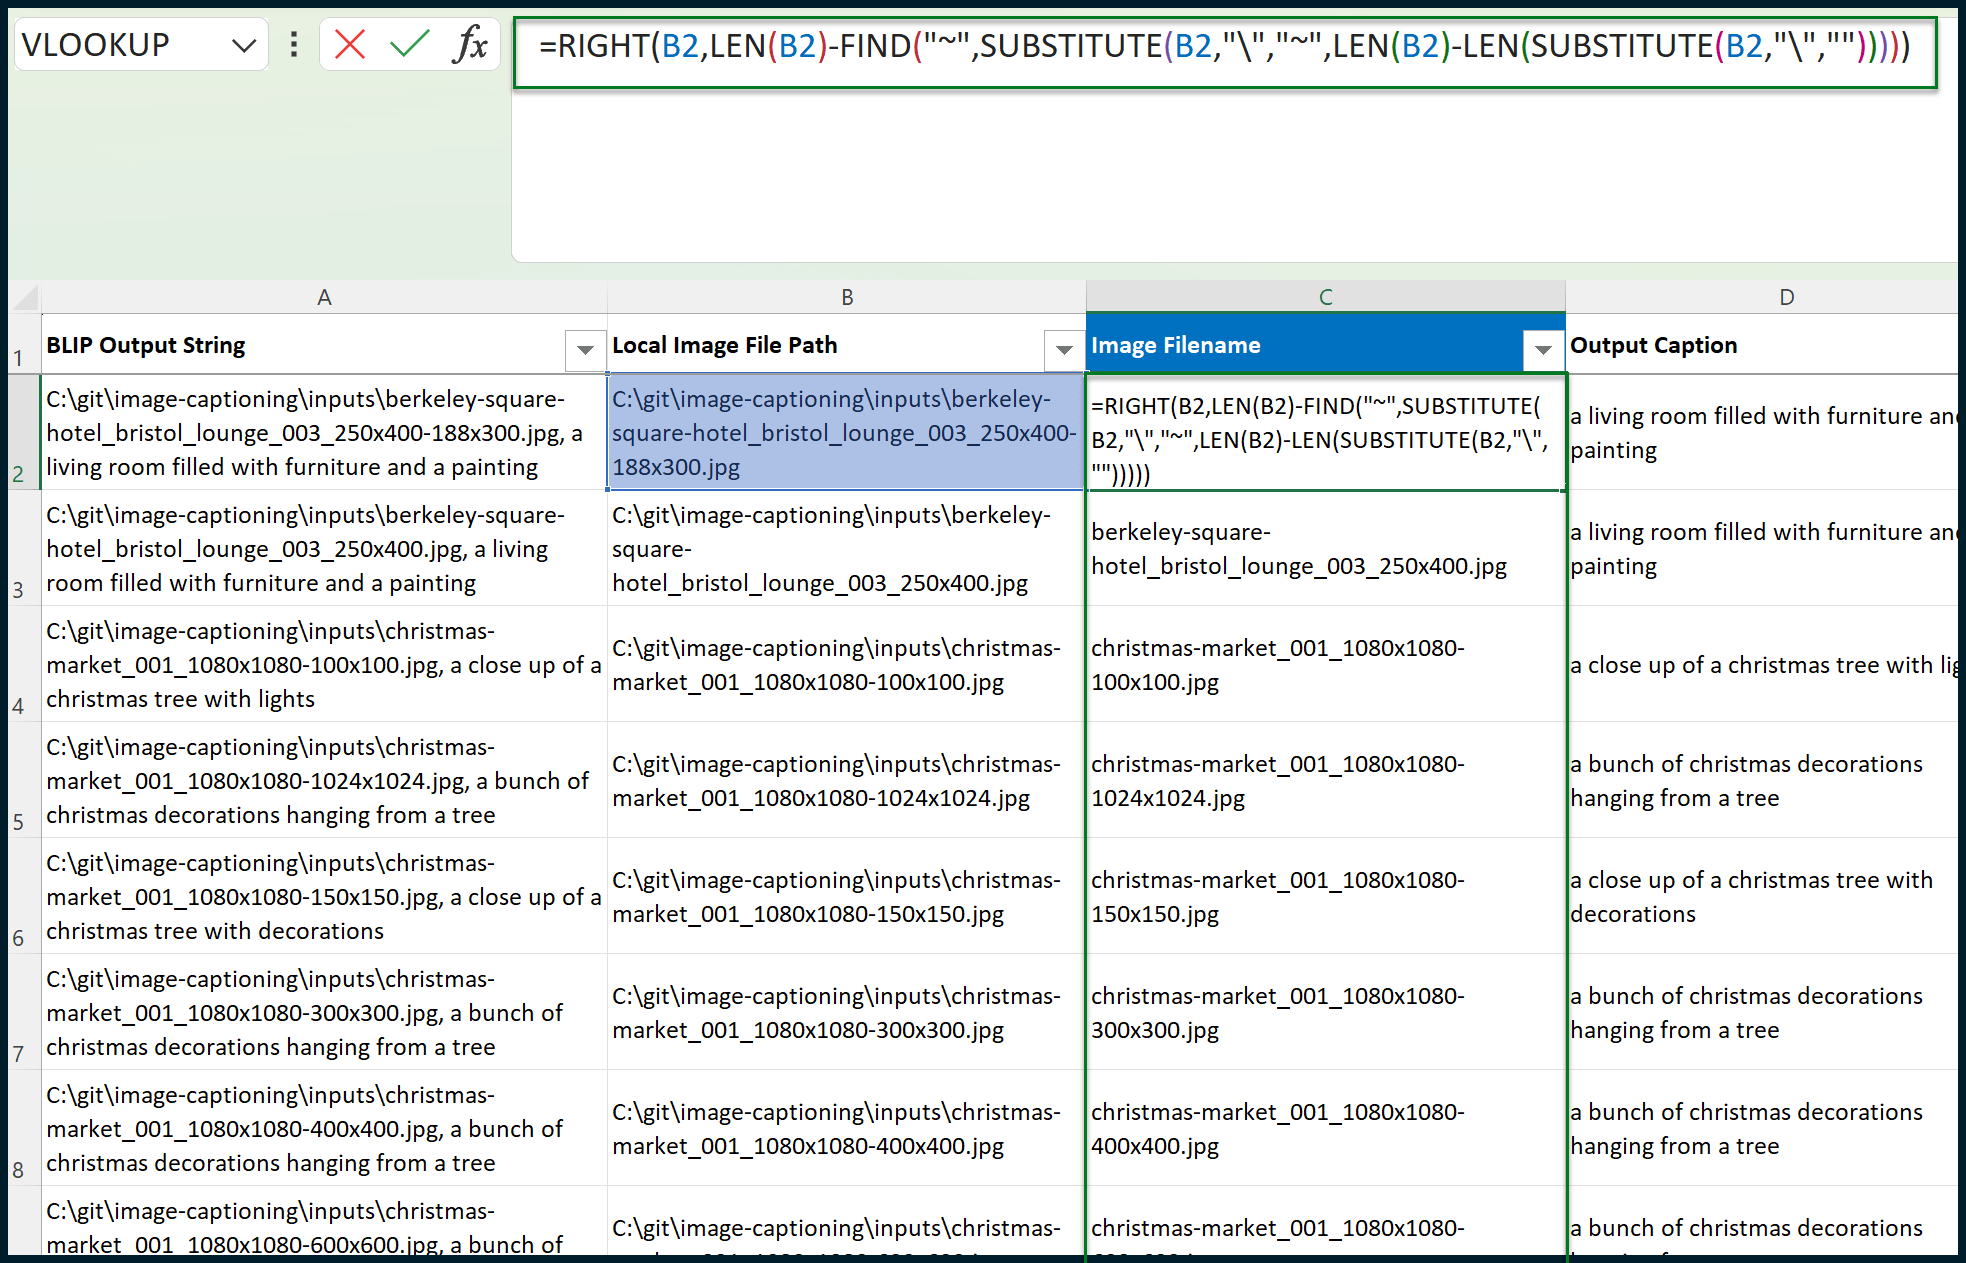
The formula which you need for the new cell (C1) is:
=RIGHT(B2,LEN(B2)-FIND("~",SUBSTITUTE(B2,"","~",LEN(B2)-LEN(SUBSTITUTE(B2,"","")))))
We now need to open “images_missing_alt_text.xlsx” which we exported previously from Screaming Frog. Don’t close the sheet that you have been building so far; have both open.
Inside of “images_missing_alt_text.xlsx”, create a new column between columns A and B (so, a new column B):
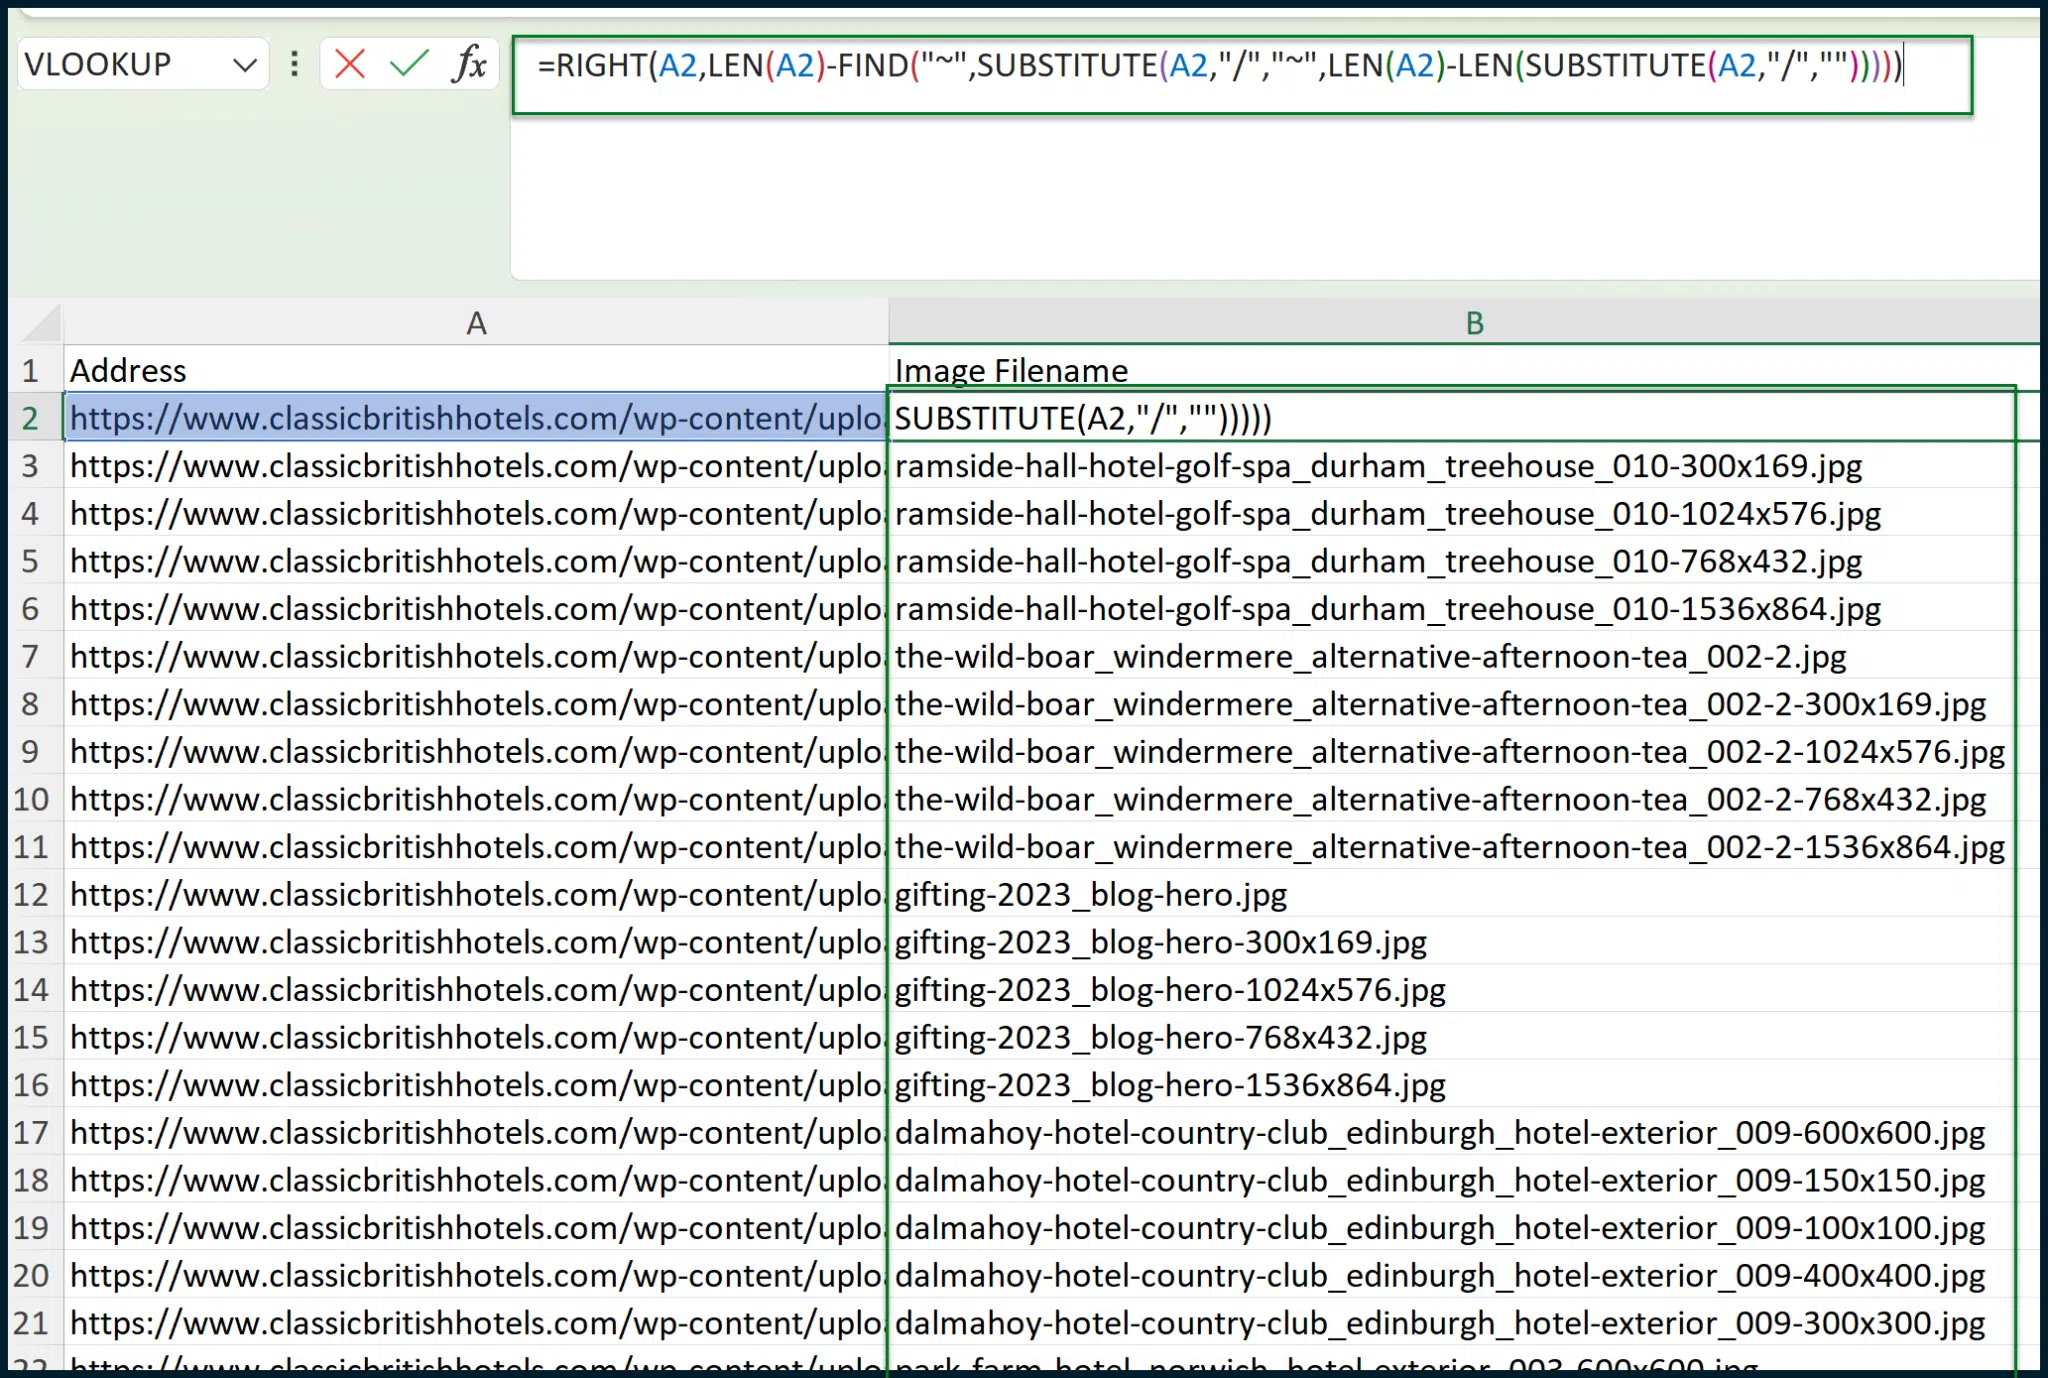
The formula which you need for Cell B2 is:
=RIGHT(A2,LEN(A2)-FIND("~",SUBSTITUTE(A2,"https://searchengineland.com/","~",LEN(A2)-LEN(SUBSTITUTE(A2,"https://searchengineland.com/","")))))
We can snap the data together now that we have two sheets containing an identical Image Filename.
(Sidenote: In the “images_missing_alt_text.xlsx” sheet, the data we want comes before the Image Filename. This won’t work for VLOOKUP since it can only ascertain data to the right of the match criteria. As a result, utilizing INDEX and MATCH might have been a better solution. However, VLOOKUP is simpler and more accessible for marketers. So, we’re opting for a basic VLOOKUP approach since the entire process is already complex.)
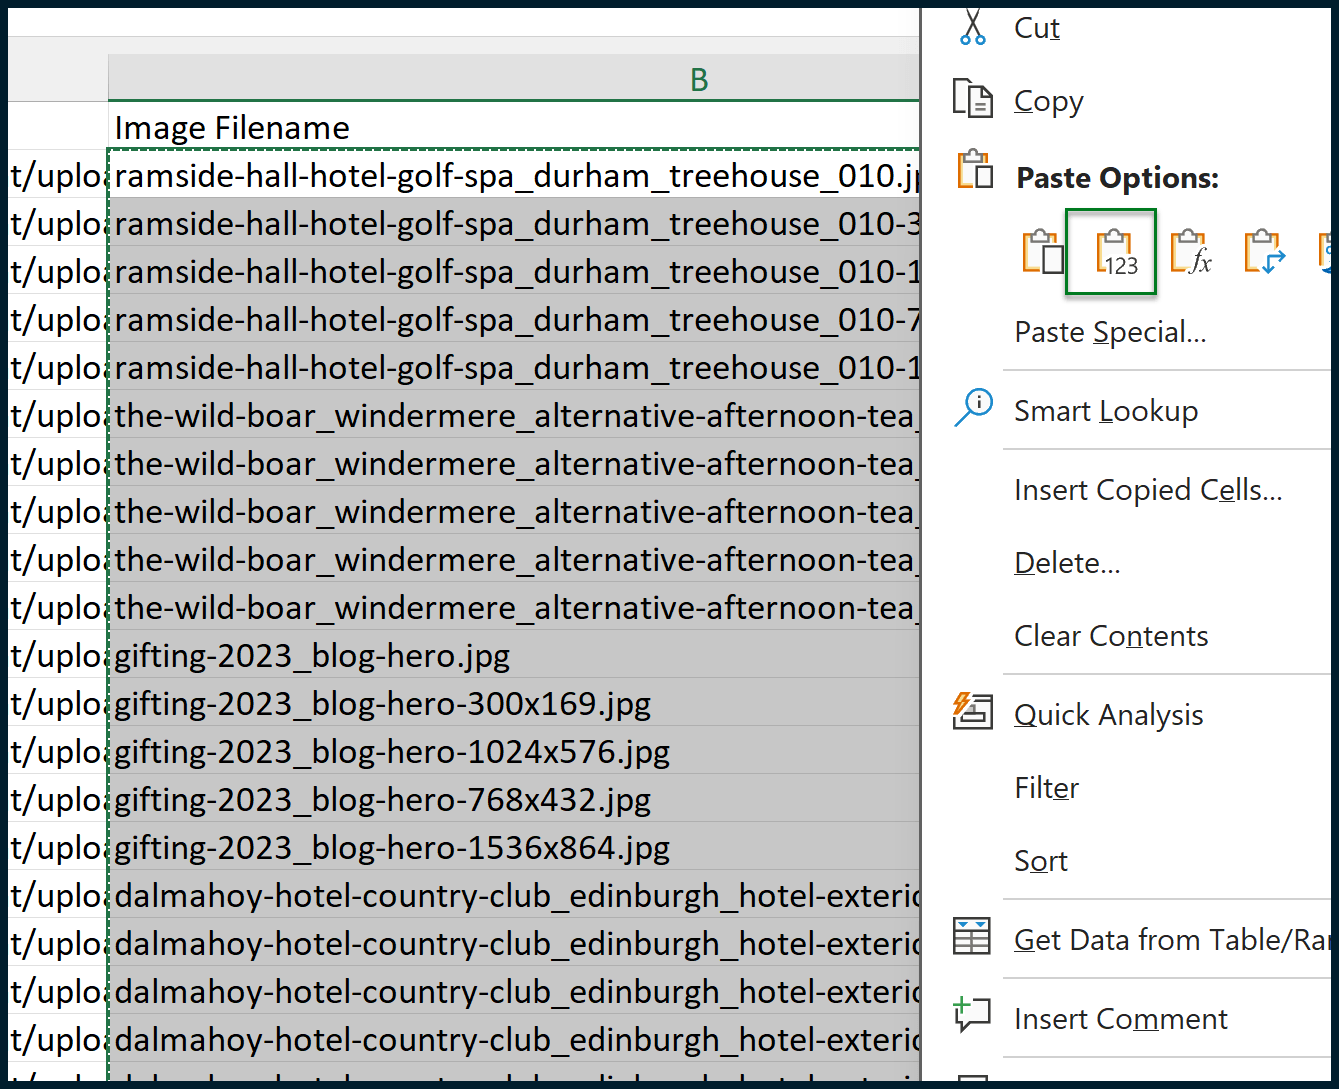
We need to copy the values within column B and paste them as values within the same position:
Once this is done, we can move the values within Column A to a new column – between columns B and C. We can then erase column A, resulting in the following output:
We want the Image Filename on the left and the Address on the right.
Finally, we can go back to the sheet that we were previously creating and perform a VLOOKUP to pull in the Address as Image URL.
To do this, we will need to create a new column between columns C and D (so, a new column D):
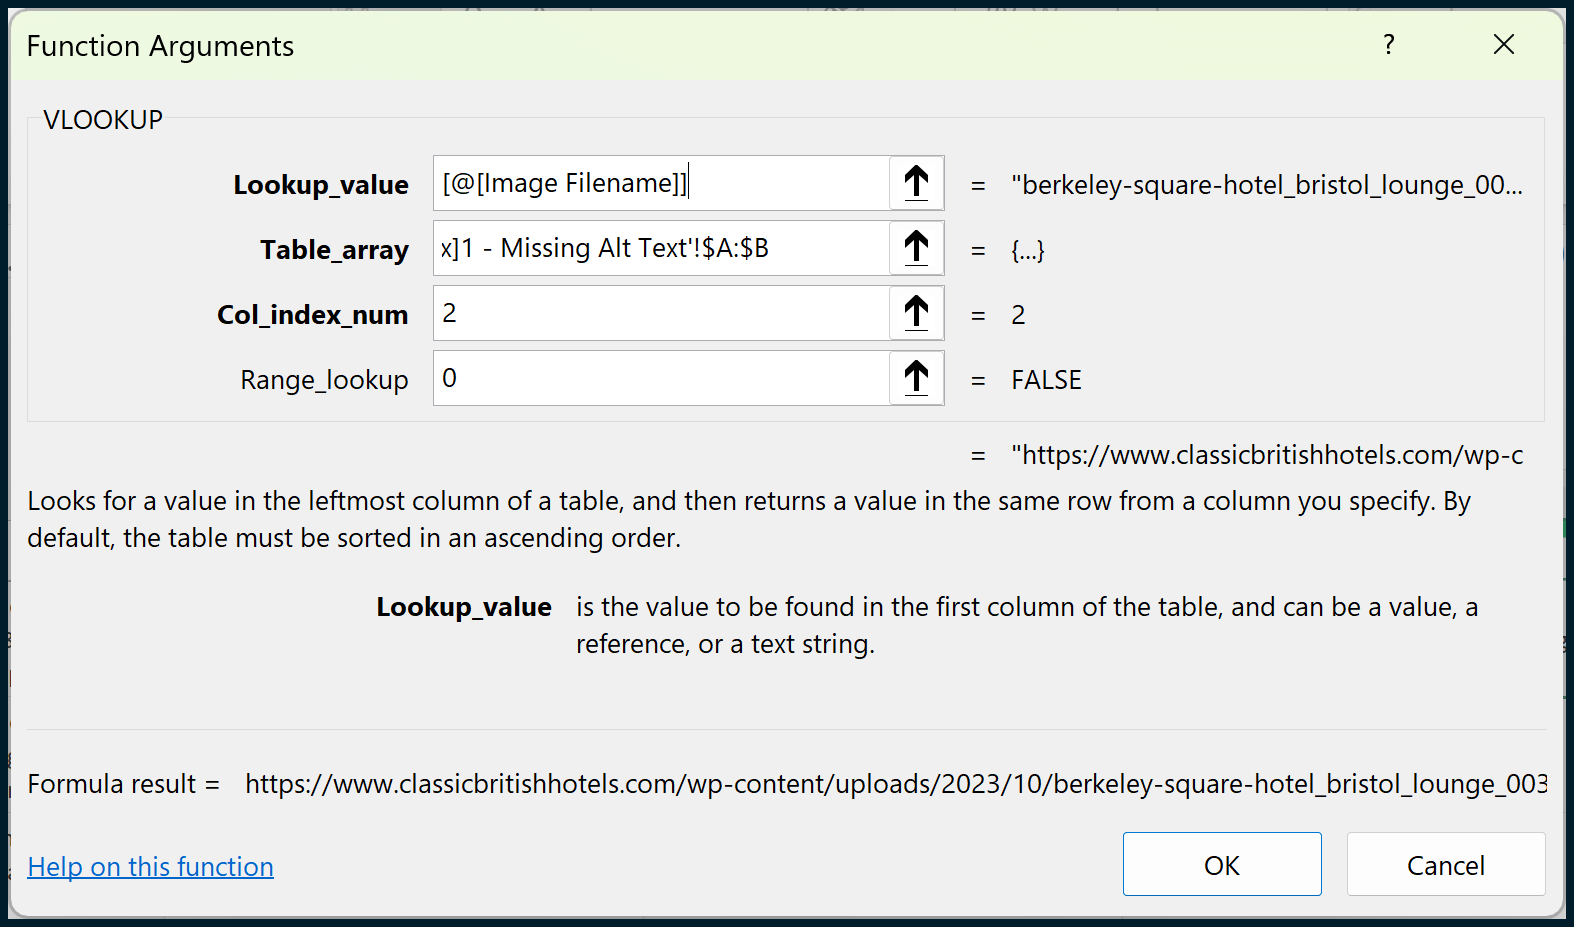
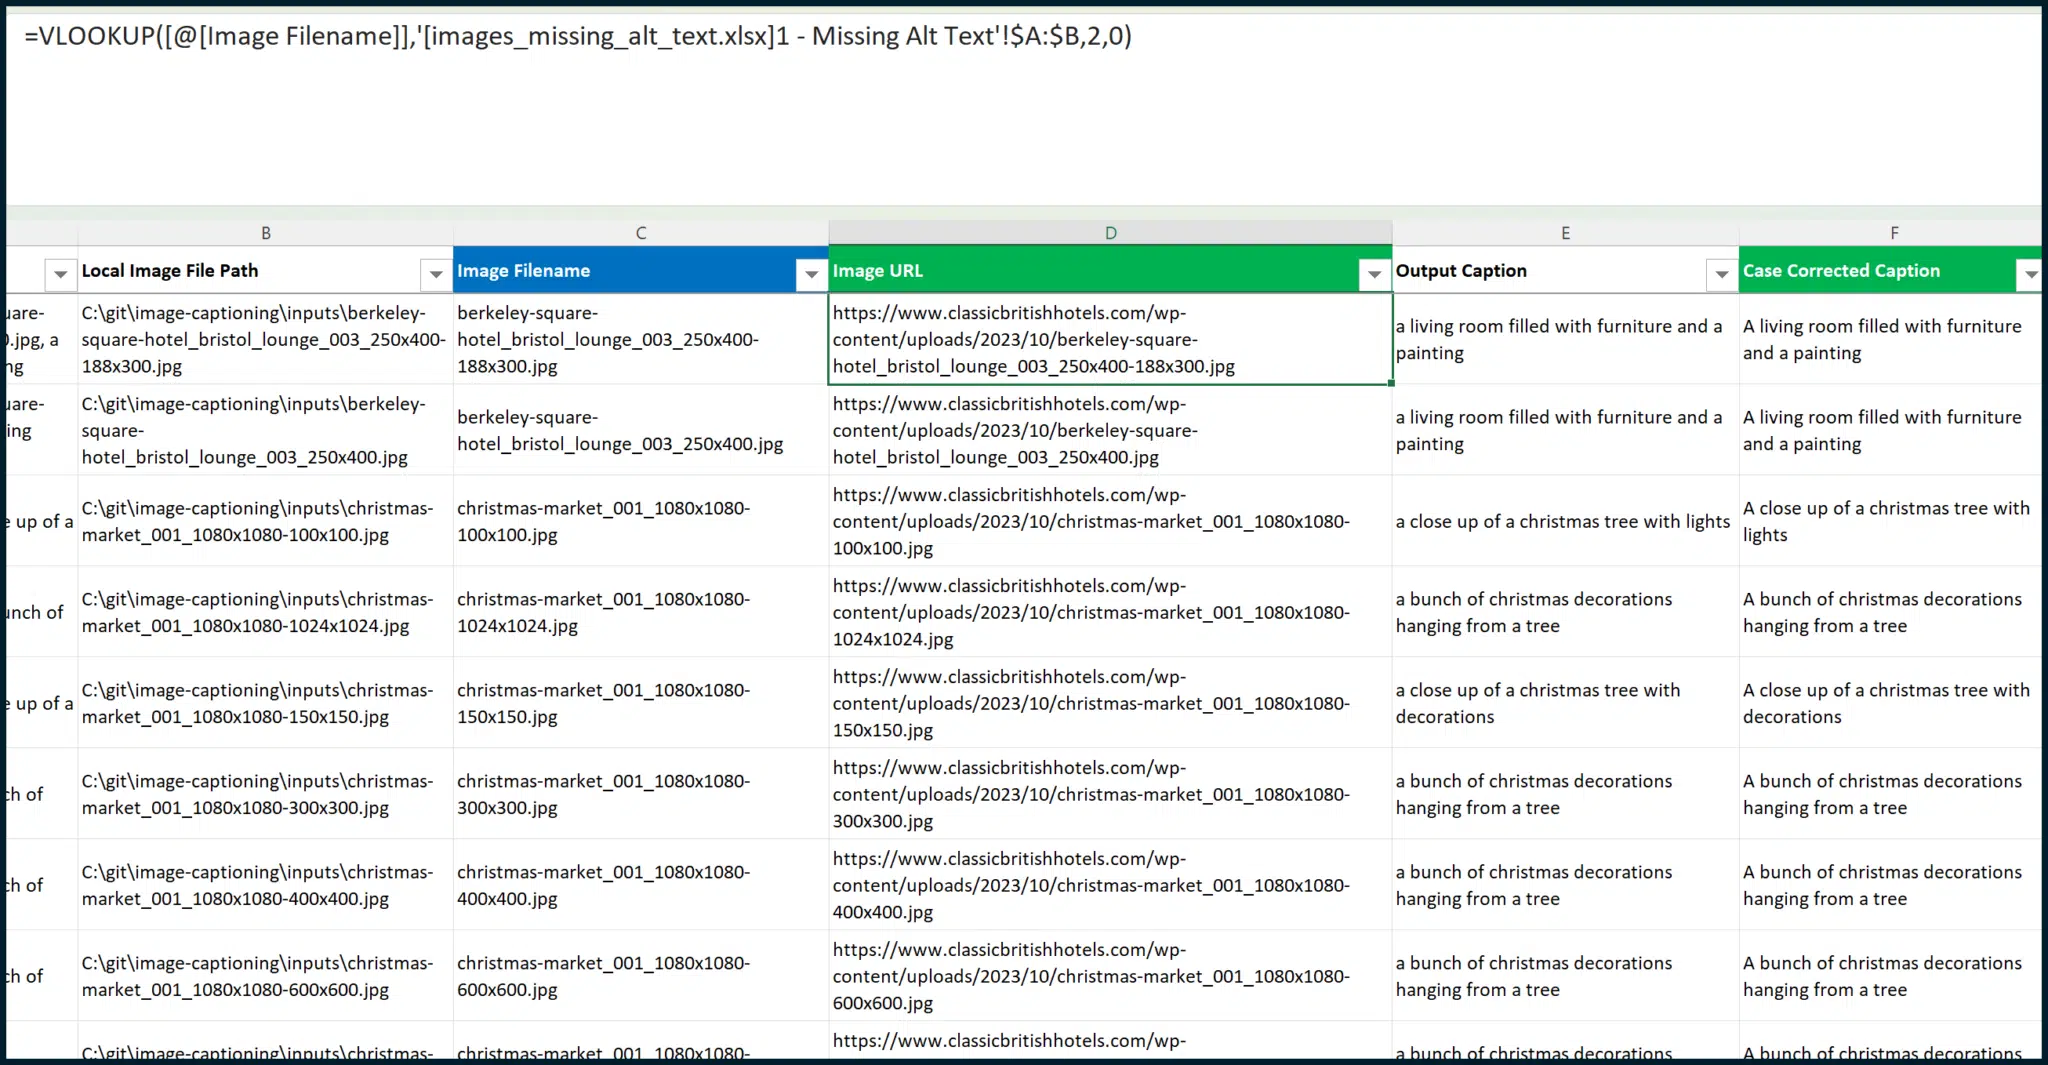
We can then copy and paste values for the entire table, making the data static (i.e., not reliant on formulas) to ensure a proper snapshot of data:
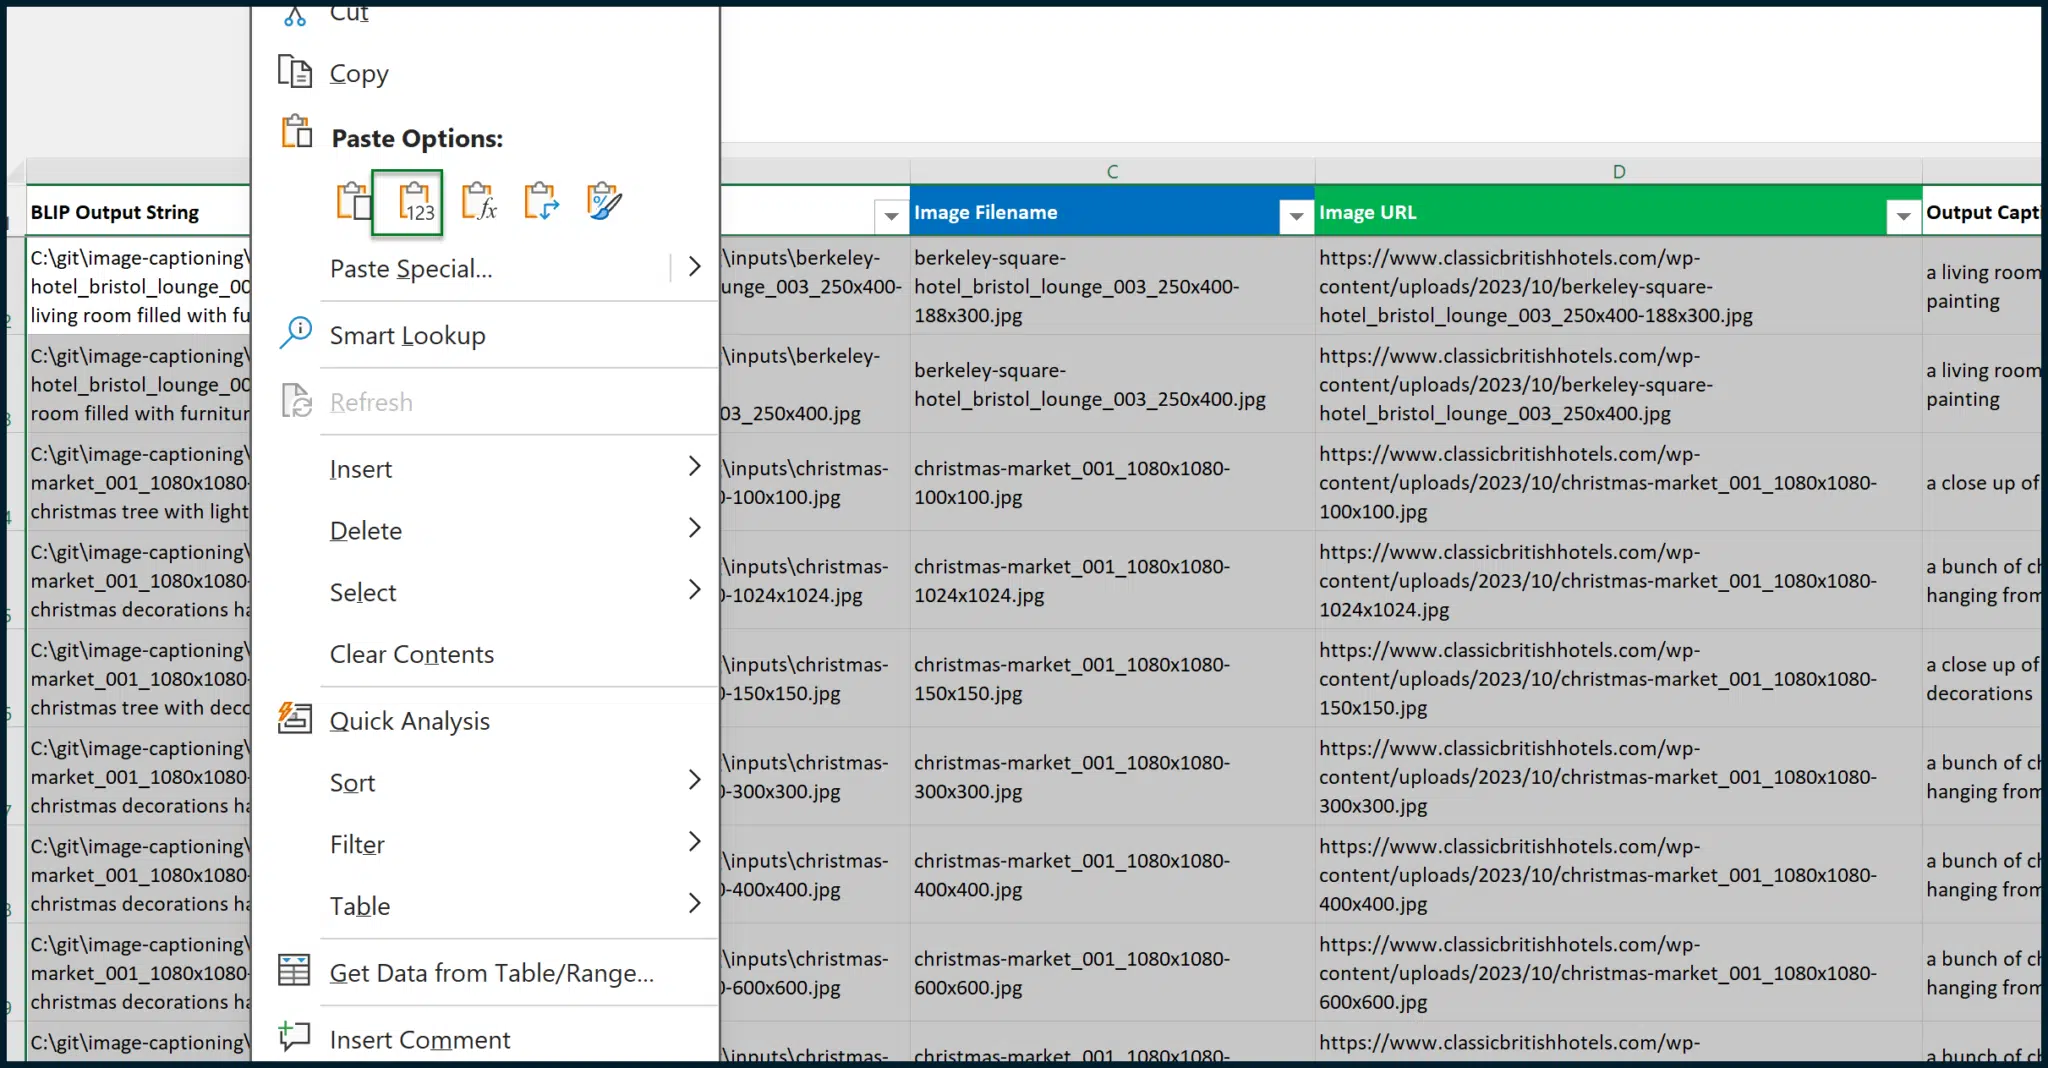
Finally, we can hide columns A, B, C and E to get the output that we want:
You’ll notice in the example above that there are duplicates in captions. This happened because the website stores various revisions of each image with different dimensions.
The images are stored at full resolution and in various dimensions, as is required by the engine generating thumbnails of each image. It is acceptable for identical or similar captions to apply to the same images, even at different resolutions.
Step 6: Filter the generated captions via ChatGPT
BLIP is great for generating short captions of text from images. (If you want longer captions, try a separate model known as CLIP.) However, its command of the English language is not as strong as OpenAI’s ChatGPT.
We can fire the generated BLIP image captions through ChatGPT to clean them up. We’re moving away from locally installed AI to cloud AI, which comes with API costs.
I won’t go over the details here as I recently covered accessing ChatGPT’s AI capabilities in a previous article. (Go and read it if you haven’t yet.) Afterward, the next steps should appear straightforward, and I’ll outline the basics here.
In essence, we want to send the captions off to ChatGPT, along with a prompt that will help increase each caption’s general standard. Utilizing my own Python / Excel project and formulas (to translate each BLIP caption into a ChatGPT prompt), I can produce something like this:
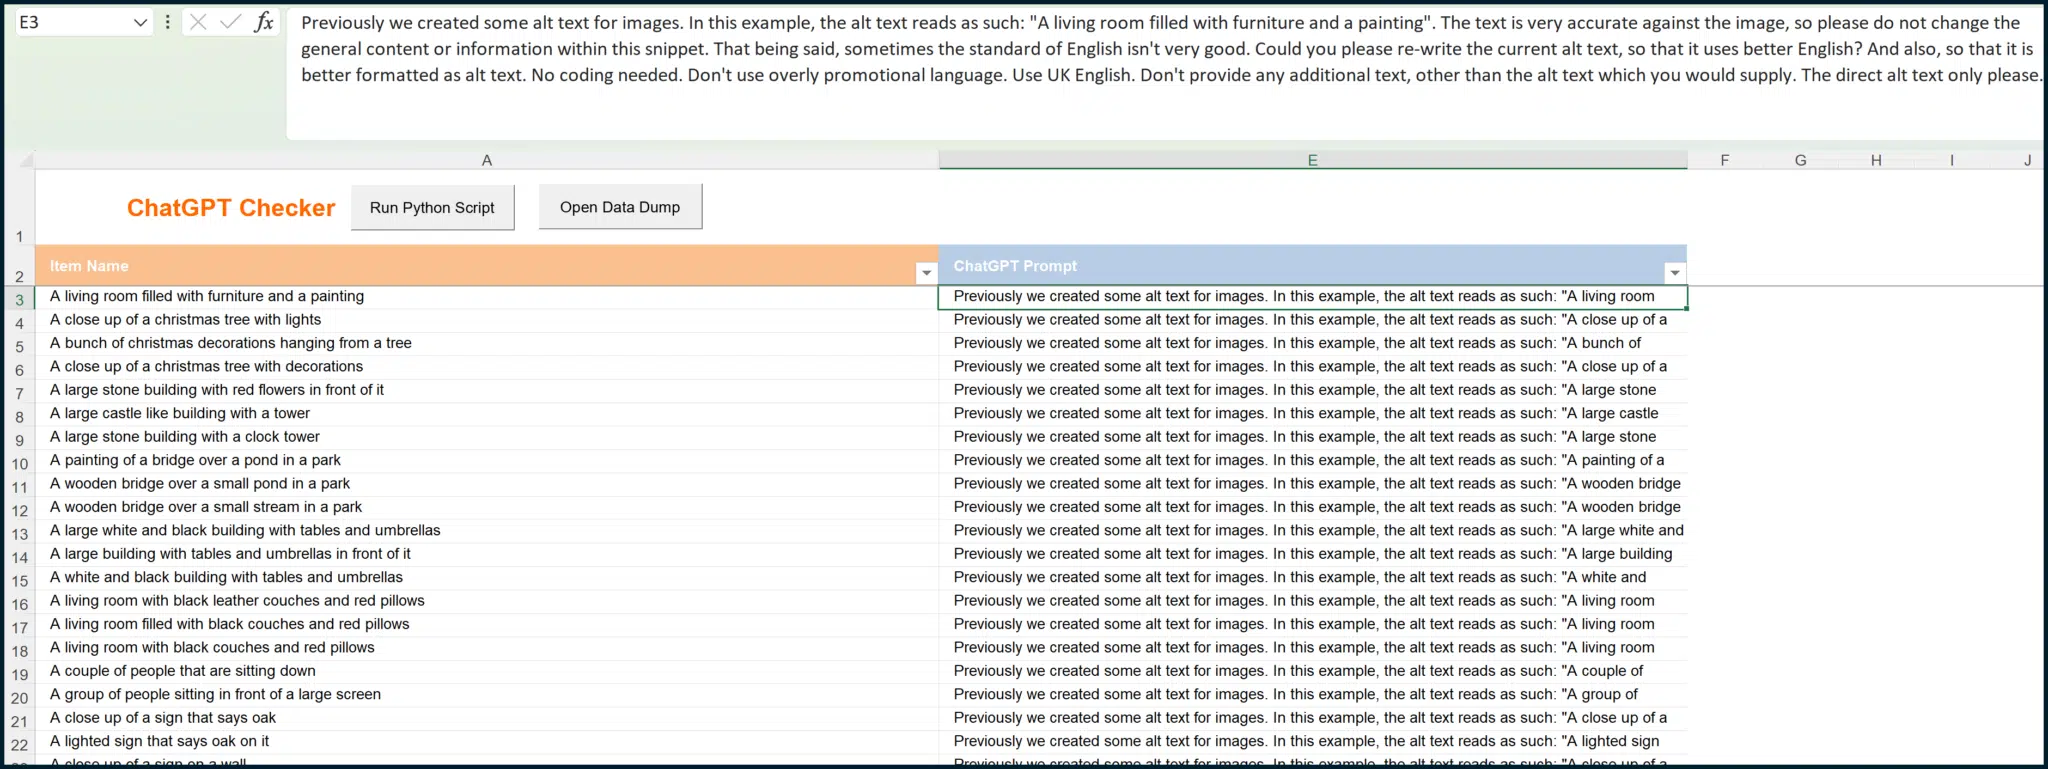
For example, the BLIP caption of “A living room filled with furniture and a painting” results in the formula-generated prompt of:
“Previously, we created some alt text for images. In this example, the alt text reads as such: “A living room filled with furniture and a painting.” The text is very accurate against the image, so please do not change the general content or information within this snippet. That being said, sometimes the standard of English isn’t very good. Could you please re-write the current alt text, so that it uses better English? And also, so that it is better formatted as alt text. No coding needed. Don’t use overly promotional language. Use UK English. Don’t provide any additional text, other than the alt text which you would supply. The direct alt text only please.”
This prompt is detailed for a reason. The more specifics you give ChatGPT (tone, language style, technical requirements), the better. Most details can be combined easily, with the only exception being the BLIP caption.
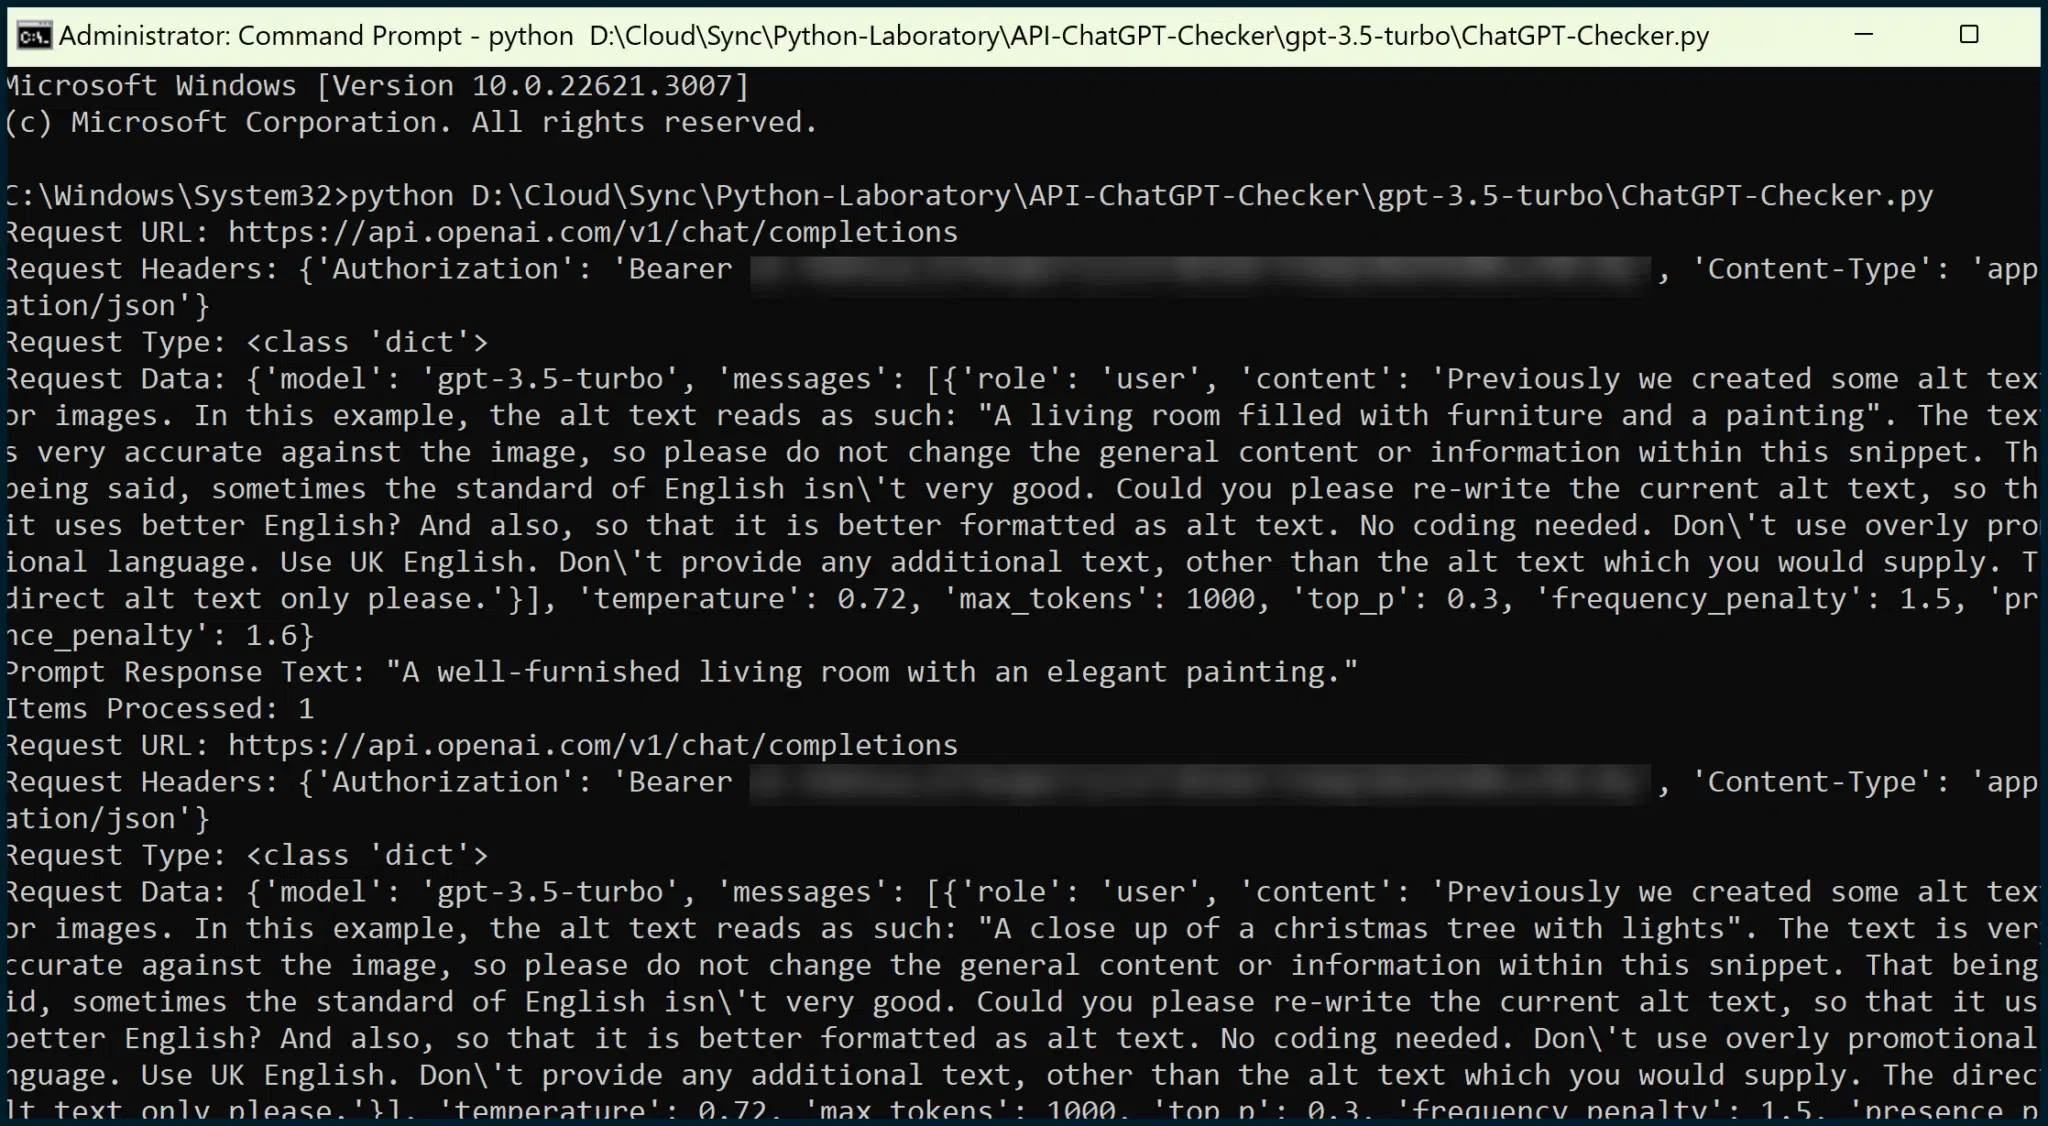
Now, I can utilize my own Python script (which interacts with Microsoft Excel documents) to fire this off to OpenAI via their API:
Once I have the output, I can use VLOOKUP to pull this data through to the sheet that I created earlier:
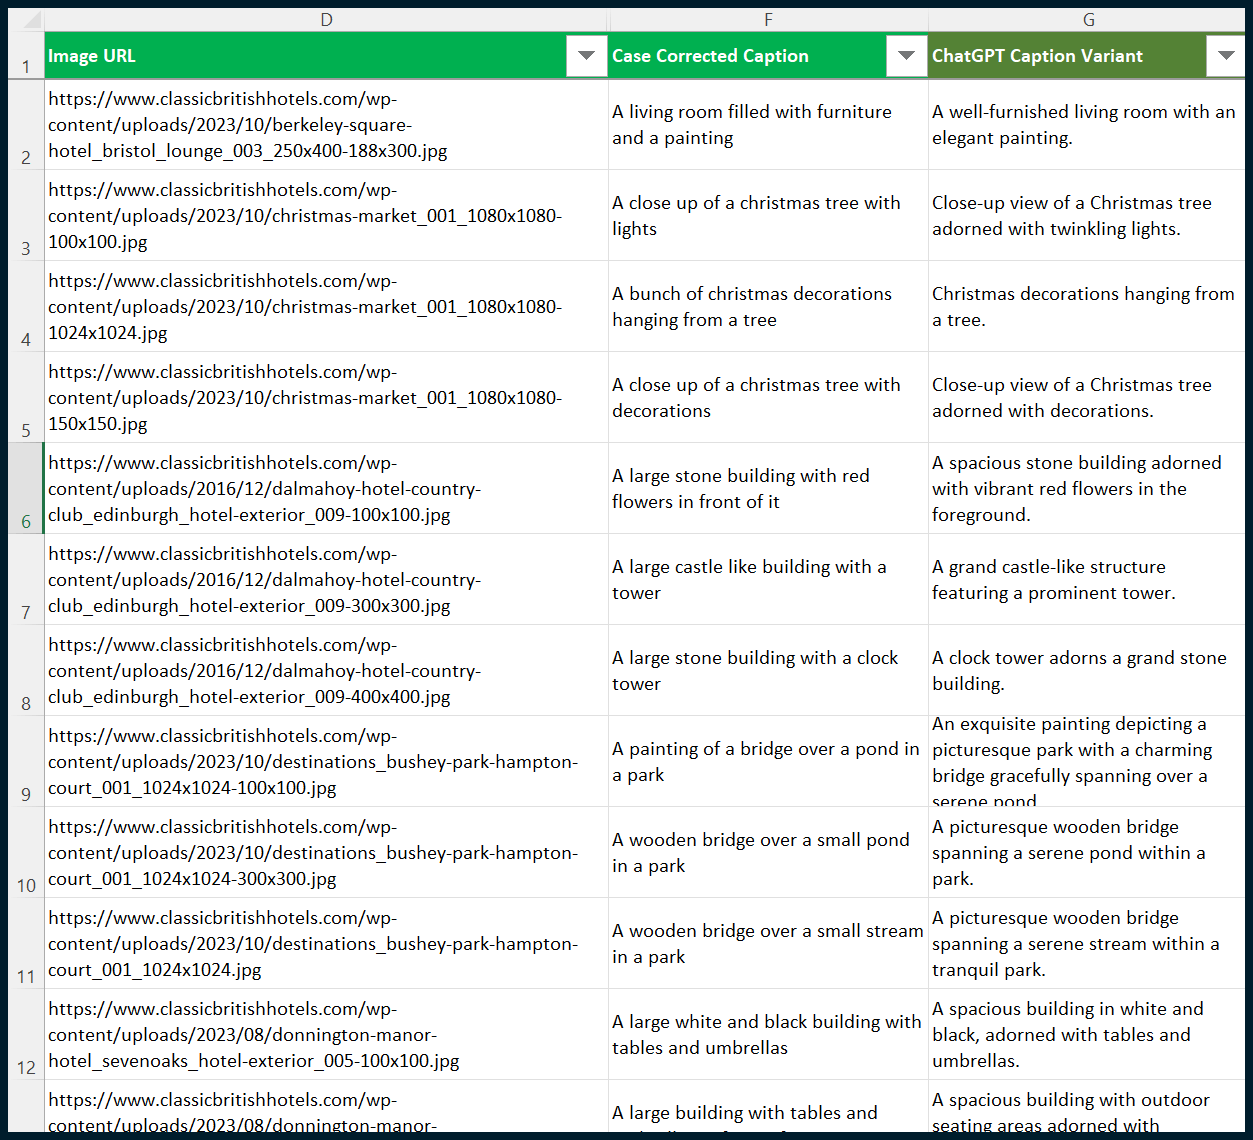
ChatGPT has now enhanced the output from BLIP.
Again, if you want to read more about how to interact with ChatGPT / OpenAI in terms of text-to-text-based output (specifically for SEO), read my previous article. There’s a lot of detail within this article which will bring you from proof of concept to full and commercially viable completion.
Step 7: Communicate with your web developer
You now have a list of image URLs without alt text, a list of BLIP-generated captions, and a list of ChatGPT refined alt text outputs.
This is where your experience as a marketer (even a highly technical one) ends. You must now share this three-column sheet to an accomplished web developer, who will create a script that appends your alt texts to images.
This must be a back-end script. A front-end script that injects the alt texts would not be suitable, as Google would need to execute those injections to apply them.
Whatever changes are made, they must be applied to the database(s) in the back end so that Google has a better (non-generated) fix on the front-end output.
Leverage AI to efficiently create alt text at scale
We’ve deployed image-to-text (BLIP, local) and text-to-text (ChatGPT, external) AIs with a shared goal. Endless possibilities arise from combining these technologies. This showcases how AI can enhance efficiency in SEO workflows.
Setup may take a couple of days initially, but tasks can be done in hours once you get the hang of it. As this cutting-edge technology integrates into mainstream SEO tools in the near future, you’ll see the value in staying ahead of the competition – producing what they cannot in a fraction of the time.
Special thanks to:
- Cobanov for creating the essential Git project that made this demonstration possible.
- My friend, Mike Worswick, for his decade-long friendship and valuable contributions. Collaborating with Mike allowed me to discover image-to-text AI applications relevant to SEO. Thank you, Mike!
Opinions expressed in this article are those of the guest author and not necessarily Search Engine Land. Staff authors are listed here.